
So what do I do instead? Make crafts that relate to my traveling! Today I made a luggage tag for my brand new suitcase.
This suitcase technically has a spot for this but it's inside of the zipper area, so that's no help when I'm trying to figure out which bag is mine. {because there are SO many bright green suitcases out there!}

I searched the internet for ideas on how to construct this tag, but found nothing that I loved. Finally, I decided to just make my own using my husband's luggage tag as a guide.

I wanted the sort of "double layered" look and for the clear plastic to be entirely on the inside. The only part I left out was the flap that covers it.
How I made it:
{1} I cut out 2 rectangles in the size that I wanted the end product to be (allowing extra for my seam) and sewed it on three sides. Don't forget: When you sew, right sides together!

{2} Cut a piece of cardboard (I just cut up an old box from some jelly mason jars) that fits inside the opening. Flip your fabric, so that right sides are out and slide the cardboard into the fabric.

{3} Make a strap either by cutting a long strip of material, folding it in half longways and sewing it. (Again, right sides together when you sew, then pull it through the opening to reverse it.) or by adding a piece of ribbon, leather or other strap material.
{4} At the opening, fold in the fabric as it would be if you had sewn it and slide the strap into the center. Sew along the edge to close it up and to keep the strap from moving.

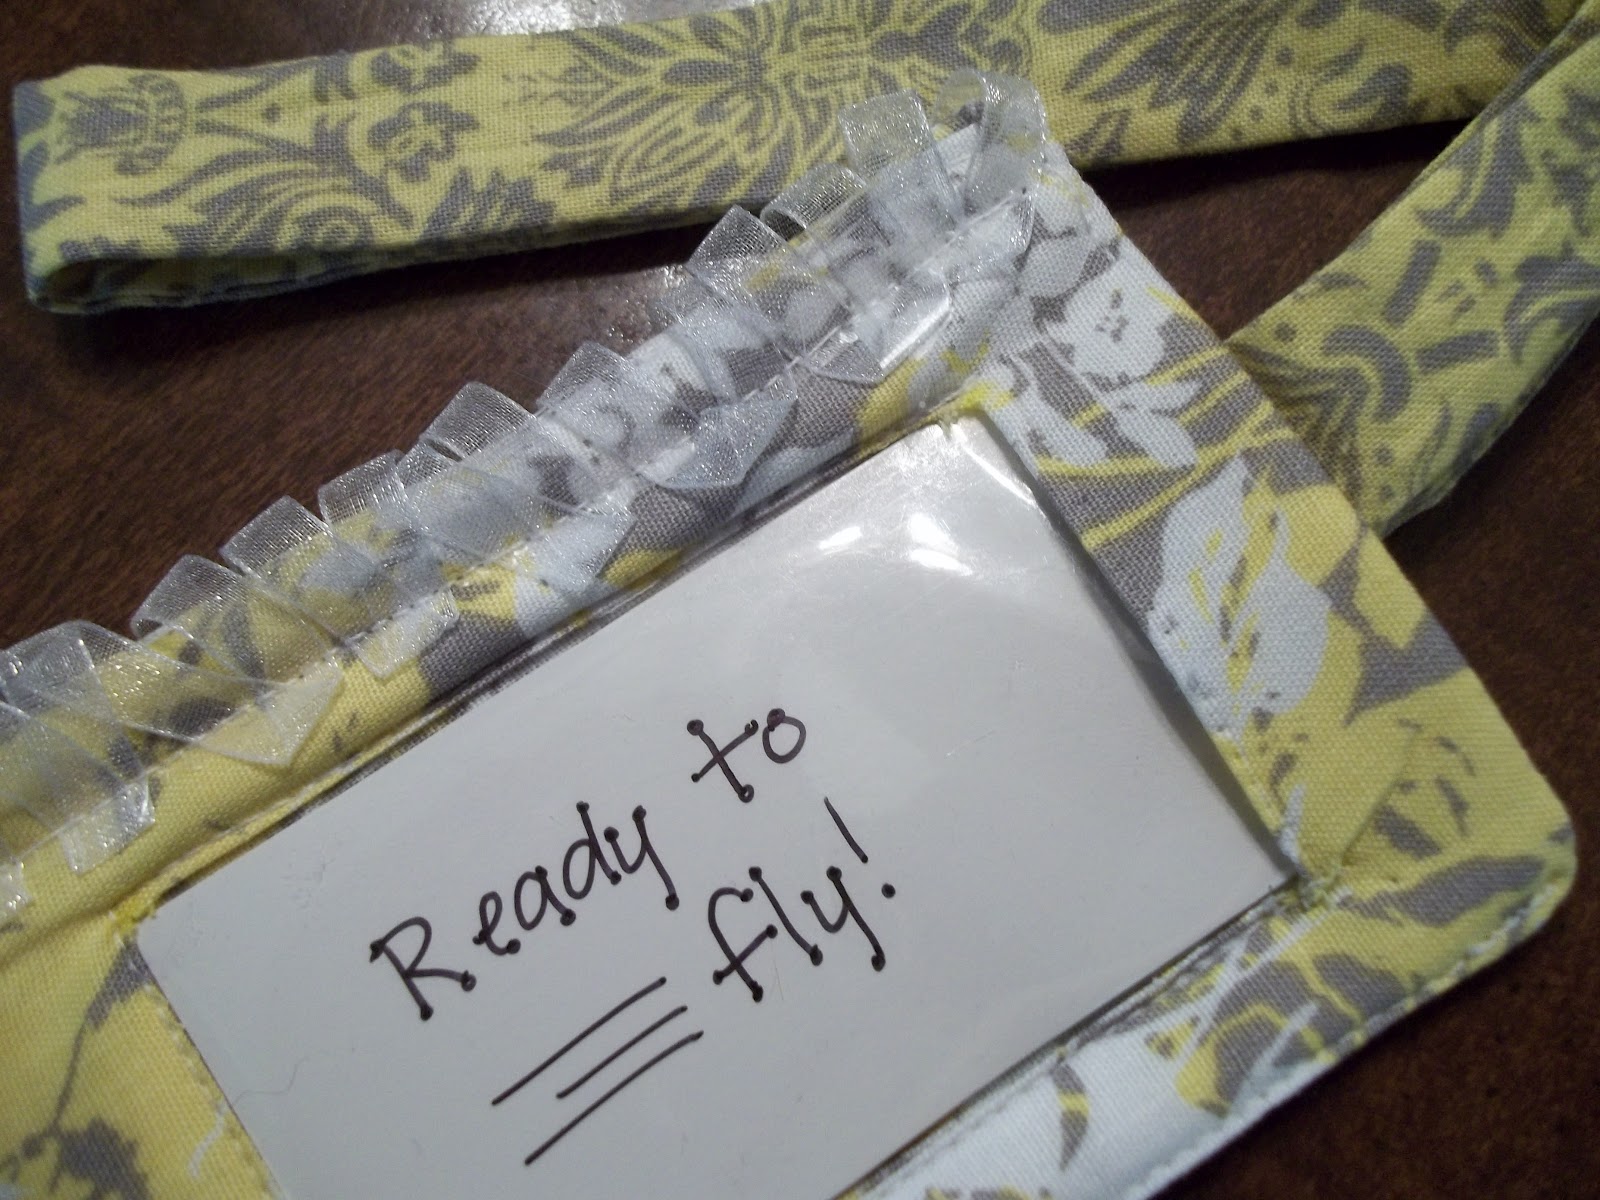
{5} For the top piece, cut 2 rectangles in the same size as you did the bottom pieces. Then cut an "X" in each piece (make sure they line up with each other). This will make a finished edge to the area where your information is written.


{I made the hole roughly the size of a business card}
{6} To give the front some stability, I suggest ironing some interfacing to the wrong side of the fabric. At this time, also iron down the triangle pieces from the "X" and trimming them if need be.
{6} To give the front some stability, I suggest ironing some interfacing to the wrong side of the fabric. At this time, also iron down the triangle pieces from the "X" and trimming them if need be.

{8} Cut a piece of clear plastic into a rectangle slightly bigger than the hole. I used one of those clear scrapbook covers. You may also use those clear bags that sheet sets come in or another similar material.
{9} Lay the entire thing over the bottom piece, lining the edges up. Hold the plastic in place or pin it (just make sure not to pin through the center, the pin hole wont go away!) and sew a top stitch through all layers.
*DON'T sew across the opening (the side where the strap is) or else you won't be able to slip a card in and out!


I can't wait to see all the places that this luggage tag will go with me. Alaska here we come!
Your Turn!
Would you add the "frills" to the top? What kind of fabric would you use? Show me your designs and let me know what you think!
With Love,
Kelsie Ann
Kelsie Ann
{Linking this project to: Jaihart- Sundays Are Lovely #11 }
Kelsie! I'm intimidated by your craftiness here! This is super cute! I LOVE the fabric! Thanks so much for linking up to Jaihart and I hope you link up more projects! SMiles, Jill
ReplyDeleteOh Jill you are too sweet! I'll be watching jaihart for sure, I love your posts!
DeleteThank you Hira Salman! When I traveled this summer I did include those things, but for the sake of pictures and not putting my address on the blog, I went with the "Ready to Fly". Thank you for the heads up!
ReplyDeleteKelsie Ann