I also have a smart phone that is not an "i-phone" which makes the case selection much smaller. I have an HTC first, but with this tutorial you will be able to make a case for ANY phone that you have!
These are super easy to make and take minutes per case. It took me longer to pick out the paper (really!)
Materials:
- Scrapbook paper (thin paper works best, textured is too thick)
- Clear phone case (I got mine for a few bucks here on Amazon- HTC first)
- Pencil
- Scissors
STEP 1: Pick out your paper.
Repeated prints work best. I chose some designs with a more neutral pallet, others with bright colors. It's entirely up to you. I would like to have found one with large flowers (that take up the whole case) but apparently I need to buy more paper for that (my husband commented that I don't need more paper!)
STEP 2: Trace around the case backing.
When I first started, I also traced around the camera hole in the back (as you can see above). However, after cutting it out, I found that it is better to wait on this part so that the holes line up. Right now, just trace the outside of the case. Don't forget to trace into the outside "holes" (like your power, volume, etc buttons)
{It's important to trace and cut around the notches so that there is not paper in the way of your buttons and plug ins... plus it looks so finished this way!}
STEP 3: Cut it out.
STEP 4: Press it into the back piece of the clear case. Try to center it as best you can and line up the notches on the paper with the notches on the case. The paper should fill most of the case. This is why the thick paper (like the brown pictured above) does not work for it takes up too much space for the case to latch together.
{The paper should reach about halfway on the phone}
Doing this gives the paper a rounded shape so that the design curves around the phone (instead of just laying flat on the back)
STEP 5: Slide your phone into the case so it is snug, then trace the camera hole.
I found that it was best to do this step with the phone in the case so that the hole lines up. Trust me, it is much more precise this way.
STEP 6: Pop the paper back out, cut out the camera hole that you just traced.
That's it! Easy peasy and super quick! I made several "cases" so that I can change them out when I am "feeling" something new.
Here are my designs...
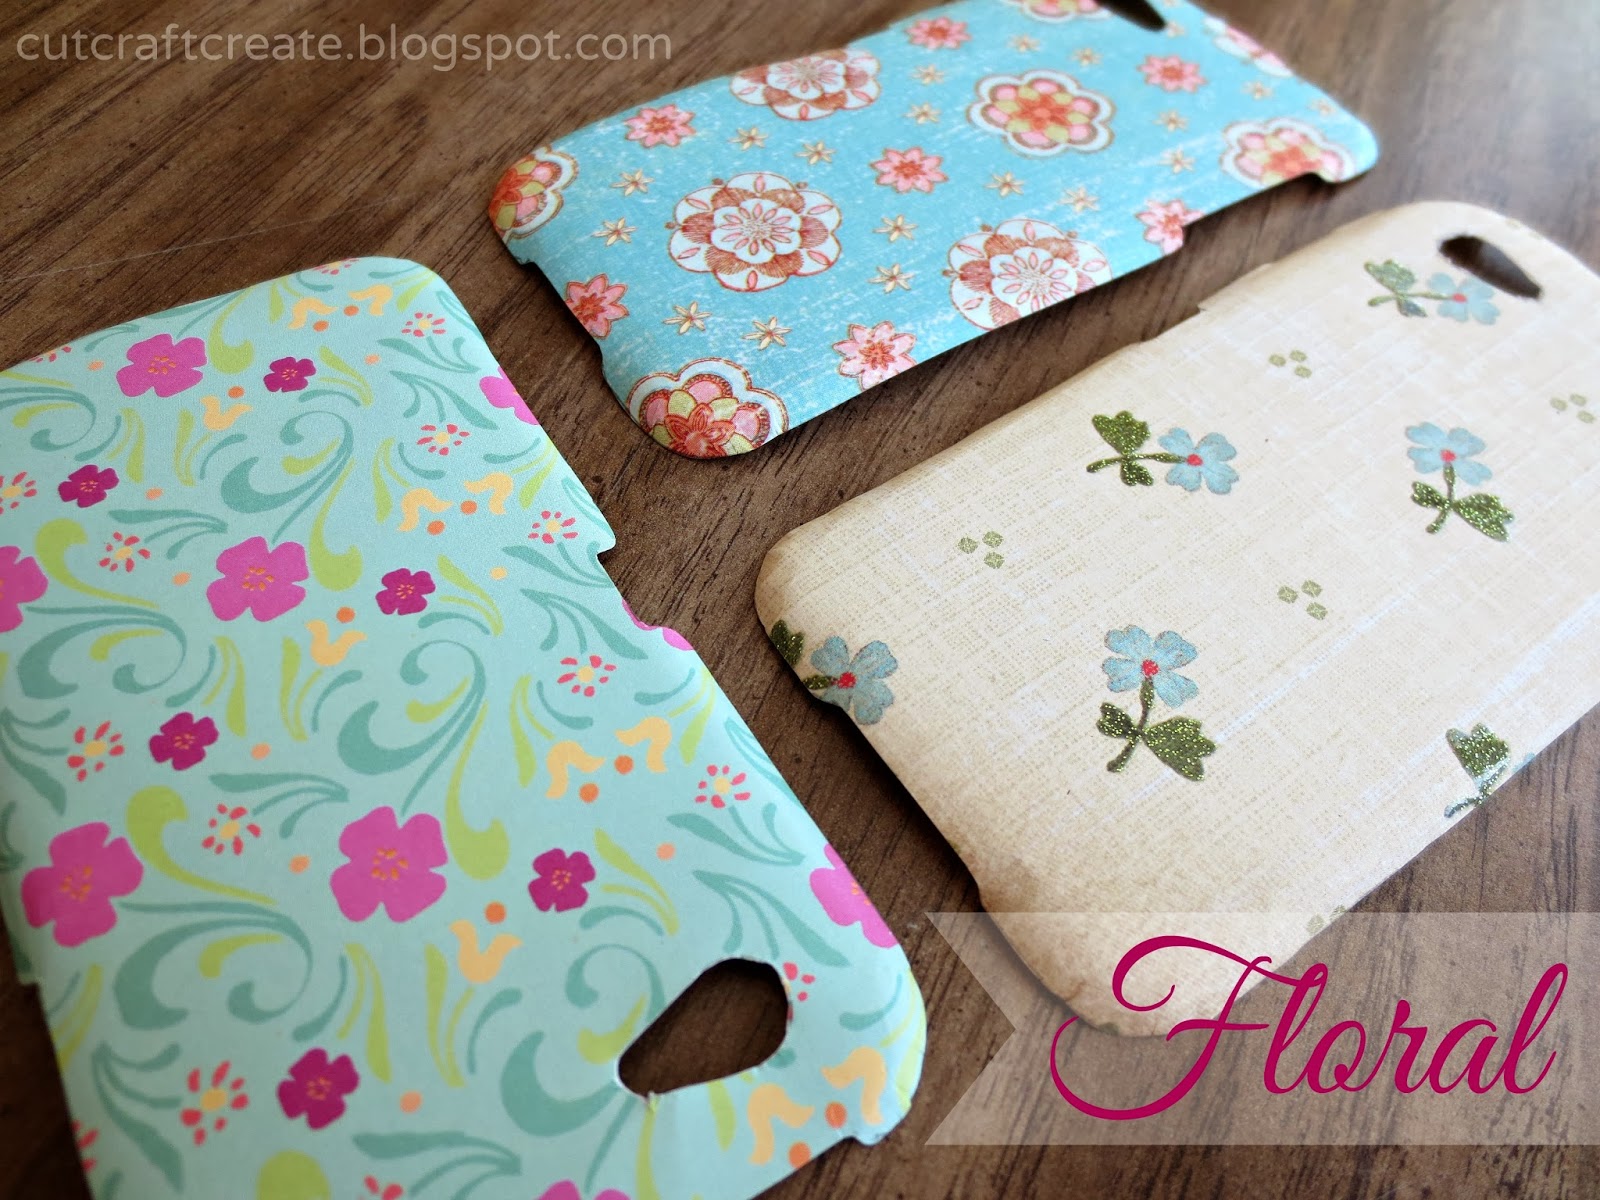
Floral:
{I didn't think I would like the blue with pink flowers but it's one of my favorites!}
Text & Collage
{I have a LOT of these papers, they are my favorite for scrapbooking!}
Color Sets:
{These came together in a pack and I love the colors so much I made three cases!}
You can also include additional pieces by placing them inside the case before inserting the paper. Instant (and non permanent) change! If you love it, glue it on the paper and keep it that way.
I would also recommend picking papers that match the color of your phone, since the base color will show through in the "holes" and on the front. My phone is a pale blue, so I picked designs with blue in them.
{Sorry about the "selfie" in the phone reflection! See the cracked screen I was talking about?}
Hope you have enjoyed this tutorial and I apologize for the crazy amount of pictures! If I get enough comments (here or on facebook) I will create phone cover printables in a variety of designs and post them next week. Let me know what kind of design you would like to have!
Happy Crafting,
Kelsie Ann
Kelsie Ann


