Saturday, February 22, 2014

Decorate Your Office Space {Part 1}

Remember the days of decorating your locker?  I wish I could find an old picture of mine- covered in pretty papers, magnets and don't forget... pictures.  I've always been a big fan of pictures.  Just because I am an adult now, doesn't mean that I don't still want to "decorate my locker" so to speak.  That's why I want to share with you a little work-space inspiration...


This "Decorate Your Office Space" post will be featured in two parts.  Today is the desk (drawers and computer) and next week will be the walls!  Next week may include some freebies, so don't forget to check back!

I love my job.  I love what I do and I love my co-workers.  I don't however, love the boring space! I've been meaning to dress up my space for a few months now and just haven't gotten around to it.  Once I put my mind to it, this overhaul took no time at all!


Sure the desk serves a purpose, but who doesn't love a little color?  What about those drab walls?  Yes, there are some flowers up on the wall but there is nothing personal about it (they will probably come down).  See those fuzzy slippers under the desk?  Those aren't part of the overhaul, they are just a good thing to have if you don't wear boots in the wintertime and your feet are cold under the desk!  The day I brought those in, my co-workers asked if I was "moving in"!

Here's what I did:

Materials:
-Wrapping Paper
-Tape & Scissors
-Glittery Ribbon
-Scrapbook embellishments (optional)

For the desk drawers:

STEP ONE:  Cut the wrapping paper to just larger than the desk drawer.  The paper will need to wrap around to the back of the drawer front.


When you open a finished drawer, the paper should wrap around, as seen above.


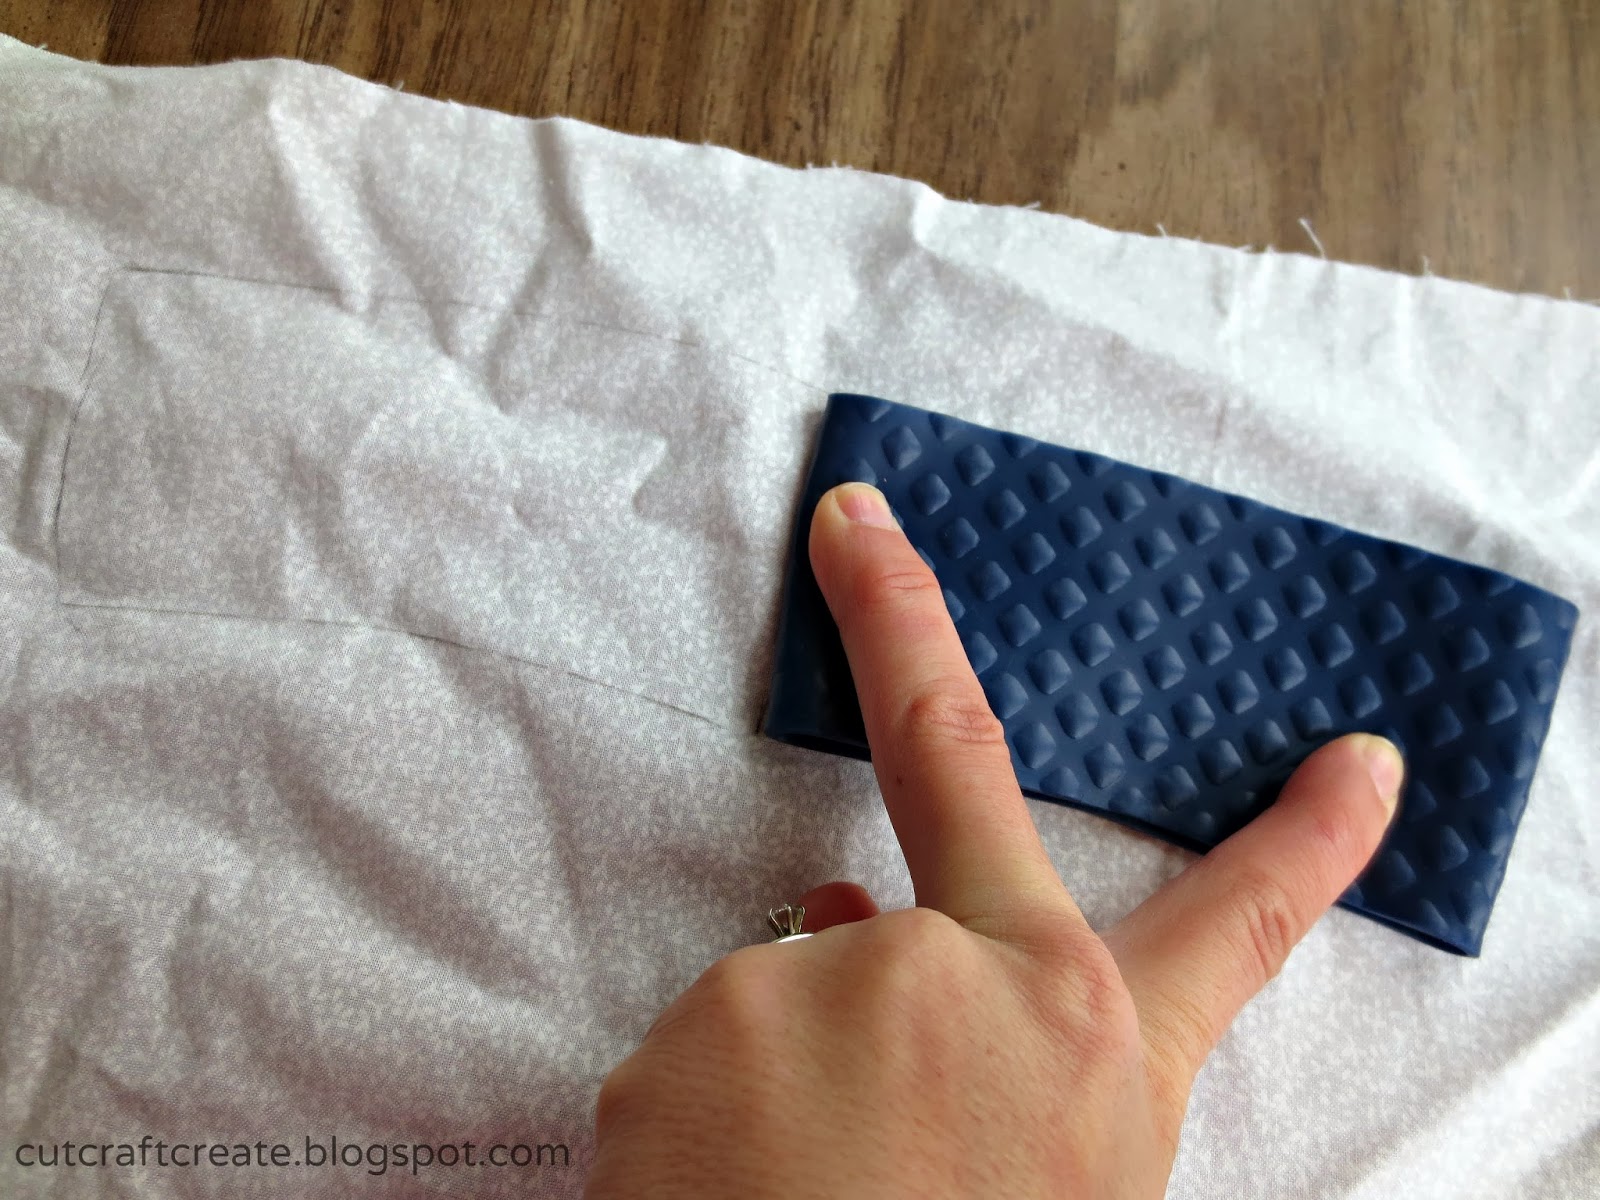
STEP TWO:  Holding the paper up to the drawer, draw a line where the handles (or other holes) are.  Cut these spaces out and slide your large cut piece back over the drawer.


Try to cut the hole as close as possible so that none of the wood or metal shows through.


STEP THREE:  Tape the paper onto the desk drawer!  Wrapping paper is thin enough that regular scotch tape works fine.  I taped the top, then each side and then the bottom, making sure that it laid flat as I went.

STEP FOUR:  Fill in the empty spaces.  Some holes (like the ones for the handles) will create a bare spot.  Simply fill this by cutting a rectangle to fit and taping it in.


On the printed paper, the tape doesn't show up unless someone is inspecting it.

The solid paper however, shows the tape much easier.  For the most obvious tape spots, I simply attached a scrapbook embellishment to cover it up.  Looking back, I would have used all prints or attached the paper with some double sided tape instead.


STEP FIVE: Finish off the desk drawers by adding any other embellishments that you like.  I LOVE Heidi Grace Designs, she is seriously the BEST scrapbook embellishment designer (they have fabric too!) I've ever seen.  I have a lot of her stuff.  All the embellishments seen here are from an old collection of hers (honestly, these pieces are my least favorite in the collection and still cute!).  The rest of the collection features her signature "heart" and tons of "wood" pieces- perfect for my rustic wedding scrapbook!  Anyways... add them where you like.


That's it!  The computer is even easier.


STEP ONE: Cut the glittery ribbon to just larger than the length (and/or width) of the computer screen.

STEP TWO:  Add tape to each end.

STEP THREE:  Tape the ends around the back of the computer, making sure that the ribbon lies flat against the edges of the computer.


Seriously, it's that easy.  Who knew such a big update could be done this quickly?

Want to see something unexpectedly fun?  As I was taping the flower print onto a desk drawer, I looked up and saw that my Tervis cup (I'm addicted to these!) had the EXACT. SAME. PRINT.  Really.  The colors, the flowers and everything.  If I held the cup "just right the lid actually matched up with the solid color on the other desk drawers.


I guess the person who bought me this cup really knows my style well!


I am loving this new fun desk!  If you are still in school, you can use the same technique to decorate your locker as well!


Since everything is taped, it is easy to take down and causes no damage to the company's property.  I hope this inspired a few of you to "Dress Up Your Desk"!

Happy Crafting,
Kelsie Ann

Saturday, February 8, 2014

Personalized Photo Map {for our Paper Anniversary}

[disclaimer: this post contains affiliate links.  Any purchases made through these links will not cost you any extra but does help support my blog.  Thank you for stopping by and supporting my crafting habit!]

Edit: Wow!  This post has received so much attention from various blogs, websites and other media platforms that I am tickled and extremely humbled by it all. If you have any questions about making your own map, please feel free to join us on our facebook page and while you are there "like" us for fun updates and easy access to any crafty question you may have.  Let us know what you want to see next!
Edit [again] I'll be completely updating this post in the [near-ish] future with the eastern states and well as some more detail on the 'most asked' questions that I've received from you all! I did want to go ahead and include a link to the map that I recommend for this project. I do NOT recommend going any smaller than 32x50. Other sources that have linked to this project have recommended smaller maps but this is not supported by Cut, Craft, Create an you will not be able to get photos in the smaller states.

Get yours here: 32x50 Rand McNally Antiqued Map

(I have the 'antique' color but it also comes in standard colors).
(aff) 32x50 Rand McNally map


Luckily, I have been saving an amazing craft that I made last June that I can share with you today.

I made this "One Year Anniversary" personalized map for my husband for the "paper" year.


I'm not a great gift giver and my husband isn't big into receiving gifts (it's #5 out of 5 for both of us our our Love Language scale). However, he was speechless (in a good way) when he saw this!

To make it, I completed these simple steps:

1- Purchase a map. I bought this one at Staples (available on Amazon as well).

2- Purchase foam board. I bought mine at Hobby Lobby. You may have to get more than one piece to make it as large as the map. I had to tape a few pieces together & it holds up great!

3- Purchase short ball map pins.

4- Print your pictures. Don't forget that they might need to be different sizes to fill/fit into the state. On mine, Indiana was 4x6 and all the others were 5x7. Measure the states before you print!


To add meaning to your map, match the pictures to the state. For example, the picture in Indiana is from our wedding because we got married in Indiana. Alaska is made from a picture of us on our Alaskan fishing trip. Montana has a picture of us skiing in Montana, etc.


I did not cover every state that we have been to because I wanted the pictures to stand out (we've been to almost every state together... It would be very full!) Use your discretion and make it however you would like.


5- Cut the pictures in the shape of the states. If you are artistic, just go for it. If you're not (like me) copy the shape from the map to some paper or clear plastic and then use a cut-out version of the paper/plastic as a tracing piece on your picture. 

{Don't worry about cutting it exactly like the state- just follow the basic outline so that it isn't too fragile yet still looks like it}


6- Using hot glue, create globs of glue onto the back of the pictures. While it is still hot, press the ball of the pin into it. Remember to place pins in different spots on your picture. The fewer the easier to put into the map, but the more strategically placed the better your picture will lay on the map.


7- Cut the foam board to the exact size of the map. If need be, tape or glue multiple pieces together. I used duct tape because it's strong but won't show through the map paper.

8- Attach the map to the board. Use whatever glue you are comfortable with. Spray adhesive is super strong but gives you little room to re-adjust. If you decide to use a lesser strong glue, the pins will help to hold it down as well.

9- Place your pictures onto the board, pressing the pins gently (and evenly) into the map/board piece.  Don't press all the way down though, so that the picture "jumps" off the map!


Viola! You now have a perfectly personalized map that shares the story of your lives together. Perfect for anniversaries, birthdays, Valentine's Day, Christmas, home decor or just because!  Use the left over pins to mark the other states you have visited.


I came up with this idea because my father-in-law has a map where everyone puts pins in the states they have visited. My husband always wanted to get a map like that and so I planned to surprise him with one. When going through our pictures together, the idea to mix them hit me! Our anniversary was coming up, so I thought it would be the perfect "year one" gift since "paper" is the tradition. FYI, he planted a tree for/with me for my anniversary present. Beautifully perfect.

Happy Crafting,
Kelsie Ann

Wednesday, February 5, 2014

"Love Note" Cup Cozie

As you may or may not know, I am not one of those girls who loves Valentine's Day.  I'm also not one of those girls who hates it and sets out to make it an "anything but love" day.  I just sort of let it be another day.  I do, however love red and pink together and of course, hearts!  I also know that many other people go all out on this special day and want to inspire you to create something unique that shows your special someone how truly special they are.

Have you seen all the beautiful handmade cup cozies all over Pinterest?  Although my husband doesn't drink coffee or hot tea, I am a big fan of both and I bet that someone in your life is too!  Your special someone needs more than just any cup cozy... they need a "love note" cup cozy!


The envelope sits at the end of a hand stitched message: "Just thought you should know..."
It's hard to get it all in one picture, hope this helps:


With this cozy, you can tell your loved one how you feel- in a new way, each day!  I love the idea of saying encouraging words ("that you are so talented!") words of wisdom ("it gets better and you will get through this") or simply "I love you!"

It's easy to make here's how:

MATERIALS:
- Two (2) fabrics- one plain, one printed
- Thin batting
- Thread in matching color to sew & opposing color to stitch message
- Two (2) buttons
- Ribbon or (2) elastic hair ties


STEP ONE: Trace & cut the fabric. 
 
Using another cup cozy, trace the shape onto the fabric.  If you have a paper one, rip it apart so that it will lay flat.  If you have a reusable one like me (It came with a cup that I have), lay it as flat as possible, trace, line it up and then trace again.

 {Disappearing Ink pens work great, but if you don't have one with you, then a pencil works fine!}

Cut this piece out, giving yourself about 1/2 inch outside of the line to allow for the seam.

Use the (now 1/2 inch larger all around) piece to trace the shape onto the second fabric.


Do the same with a piece of thin batting.  I recommend cutting that shorter (about where the original line was drawn) so that you don't have to worry about it bulking up when you sew the seams.


STEP TWO: Stitch your message.

Using a pencil (or disappearing ink pen), write out your message onto the solid fabric.  Next, hand stitch over the pencil with the contrasting color.  I said "Just thought you should know..."


STEP THREE: Make an envelope.  I had to play around with the fabric to get the right shape but if you make it look like this one, you should be fine.


Sew the sides and bottom down next.  Start with one side, then the other, finishing with the bottom.  I suggest tacking it down at the corner edge and sewing a stitch where it folds for a crisper line and a more "envelope" look!


To finish it up, I ran some stitching across the top (just for looks).  I also folded the top down (like a closed envelope) and ironed it so that the flap would stay down when it was finished (not pictured).


STEP FOUR: Attach the envelope.

Pin your lovely new envelope to your solid fabric immediately following your embroidered message.  With a sewing machine (it's much faster!) run a stitch across the sides and bottom to secure it onto the cozy piece.

{I used red thread to stitch it together & white thread to secure it, just for fun.  It looks lovely!}


STEP FIVE: Pin all your pieces together & sew!

Face your two main fabrics, right sides together.  That means the embroidered message and envelope will be facing the heart print on the other piece of fabric.  Next, lay the batting onto either side, creating a three fabric pile.


Pin it all together and sew THREE sides (both long sides and only one short side).  Don't forget to leave one short side open!

This will attach everything together.  It will probably have this "pillow" look if you batting is a little thicker like mine:


If you sew at 1/2 inch, your stitching should line up about exactly with your original pencil lines.  It's not important that they do, but it will make you feel like it is turning out to be the right size!


Once it is all sewn up, pull the fabric right side out through the short end that you left open.


Don't freak out if it looks really small.  Instead, go iron it flat.  Because of all the batting and being reversed, it doesn't look very wide, but I promise, it's the same as your pattern cozy once it lays flat!


STEP SIX: Attach the loops.

Using ribbon or thin hair bands, create two loops that will stick out of your open end.  I used ribbon because I thought it would look nicer, but I think hair bands would be better for fitting a variety of different sized cups.  If I do this again, I will use something elastic.


It might help to get some of your favorite cups to get an idea of how big your loops need to be.  If you make them too long, they wont hold tightly against your mug.  Wrap the cozy around the cup and see how far they need to go to "close" the gap.

Don't forget to fold in the edges of your fabric pieces for a nice finished look.  Pin it all together.


Sew it closed.  I made two lines of stitches for looks, but try to get yours as close to the edge as possible to make sure that it catches everything.  You can do as many lines as you want!


STEP SEVEN: Add buttons and enjoy!

Sew two buttons onto the other end of the cozy.  These will be used to wrap the loops around to secure the cozy onto the cup.

That's it!
Seven steps but super easy!  I love the hand stitched message and that adorable envelope.  If you want to add a snap or Velcro to close the envelope you can, but ironing it down will do the trick!

Plus... it can go on ALL your favorite mugs- with or without handles!


AND... it's reversible too!


This might be the best thing ever.  I love cup cozies and this one is extra sweet.  Don't forget to add your message with love!

Happy Crafting,
Kelsie Ann