Friday, October 25, 2013

Rustic Wedding & Old Friends

Last weekend my husband and I had the privilege of attending a wedding for one of my dearest friends.  This guy not only is one of the best people I know, but was responsible for me staying at my college (I had a rough time freshman year) and possibly from gaining the freshman 15 (he rarely let me skip our racquetball sessions!)  All joking aside, he was one of my first real friends on campus and will forever be one of my best friends.  Watching him get married to his beautiful bride was the perfect end to my week.


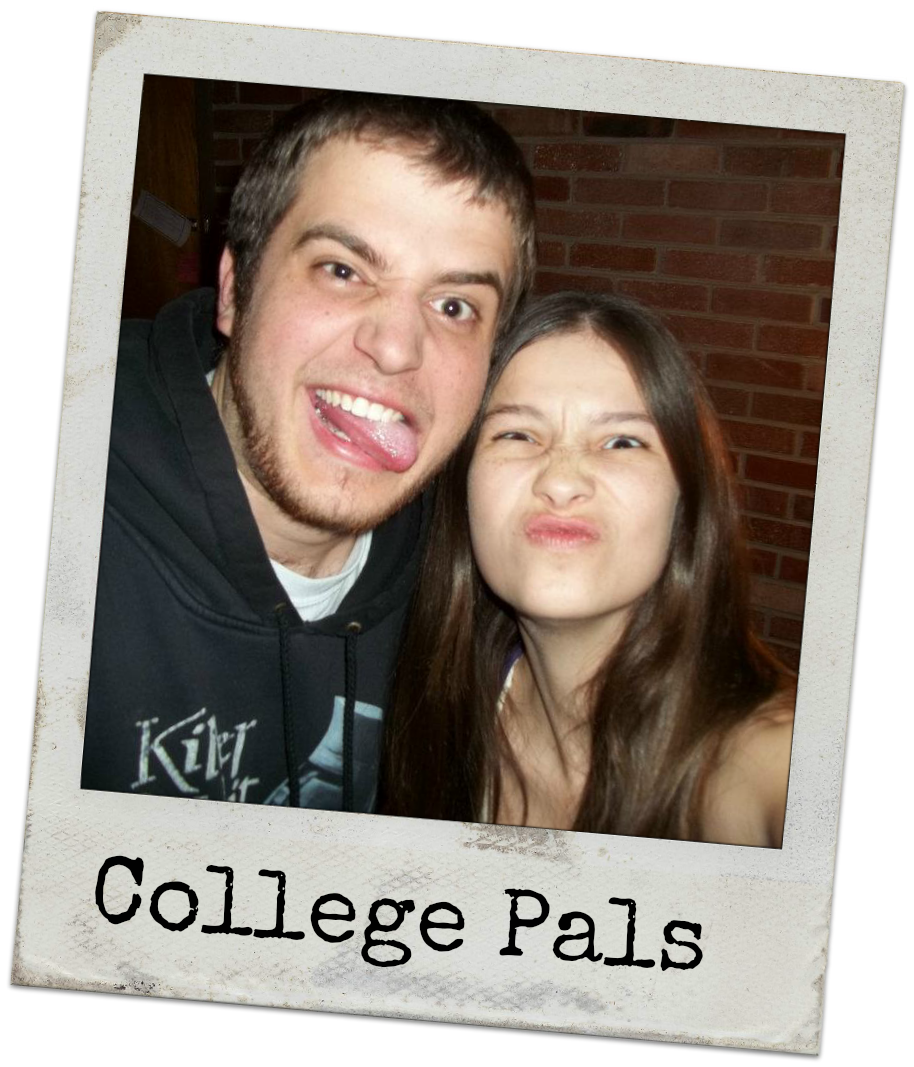
His name is Dustin and he's a total dork, but so am I... that's why we're friends!

I knew that his wedding was going to be rustic themed but I was blown away with how darling it all was!  The venue was a mix of outdoor and barn, there were mason jars hanging from shepherd hooks as you walked between the two, there were signs pointing to the different areas (like "restroom" "barn", etc.)  It was so lovely.

Although I did not take pictures of everything, I wanted to share their favors with you (there were two!)...


After the ceremony, while the happy couple took pictures the rest of the guests had time to catch up with each other, snack on some food and drink from... you guessed it- mason jars!

If you've been following this blog long, you know that I am addicted to mason jars.  I use them for everything and almost every day.  Each jar had some twine wrapped around it with a blank tag on it to write our names.  What a darling way to keep track of our drinks.  I wrote out K. Saus and T. Saus (our last name is Sausaman) for myself and my husband.  I am pretty proud to be his wife as is, but there is something about weddings that makes me want to shout from the hilltops "this one's mine!"  Boy, would that embarrass him.


At the end of the night, we got to take home our mason jars!

Our other favor was sitting at the table when we arrived.  Adorable small burlap sacks tied with twine and finished with a personalized tag.  Think it can't get any better?  They were filled with candy!  Chocolate is a girl's best friend they say...


When they get back from the honeymoon I will have to ask if they made the tags or ordered them from somewhere.  I love the font used in the "Thank You" and love that it is personalized with their names and wedding date.


Although I can never get enough burlap or have too many mason jars, the best part of the night was being able to catch up with old friends.  Two of these guys I haven't seen since my wedding and the other since we graduated!  It's funny to think that we are all grown up now (each of us is married except for one who just proposed to his girlfriend a few days ago... she said yes!) and not just a bunch of college kids.  Anyone else with me on this?


It was a beautiful day and a beautiful wedding.  I still feel enormously blessed to have been a part of it and hope that it's not so long until we can all catch up again.

 {That's me and my husband with Dustin and his beautiful wife Brittani}

What is your favorite thing about rustic weddings?  I've mentioned that I am a sucker for burlap and mason jars (both in our wedding as well.) Or... are you not quite convinced that rustic is the way to go?  I'd love to hear your thoughts.

Happy Crafting,
Kelsie Ann

Friday, October 18, 2013

Burlap Halloween Signs {Plus Halloween Party Ideas}

Can you believe Halloween is only 13 days away?  As I mentioned in my last post, I am running a tad behind on my decorating for the fall.  I LOVE Halloween and am a little disappointed in myself for not having my decorations up yet.  Since I needed to get on this and because a girl can never have too many decorations, I thought I would make a few new ones!  Check out these easy burlap signs:


One is cute and pun-ey, one is scary and one is traditional... a style for everyone and all situations! Each one uses different tools/materials as well, so there is something for everyone to make.

The wolf one was made using paint, the Silhouette (cutting machine) and heat transfer vinyl.


The shape is called "Howling Wolf" (ID #4085) and was made by Nathan Jenne.  This shape can be purchased in the Silhouette store.

Using the freezer paper method of stenciling (there are several tutorials online), I painted the yellow moon and then (once it was dried), painted the wolf on top of it.

I finished it up by cutting out my words from heat transfer vinyl and ironing it on.


For a crisper look and long life (burlap will unravel!) make sure to stitch along each edge.  Try to stay with the grain as best you can.  I also folded over the tops and stitched a "loop" into it, so that it cold be hung by a dowel rod.

Easy enough, right?

Next, I made a scary one for when we are not having little ones at the house!  I am a huge fan of horror and gore (who would have guessed it, right?) and had to include something like that into this craft!


The only materials I used on this one were paint and a paintbrush.  I thought that having the message written out in handwriting, instead of in a perfect stencil would look spookier.  For the hand print, I did what every child (and adult)  loves to do... stuck my hand in red paint and smeared it across the burlap!

This was also the only sign that I left without stitching (except to loop it at the top.)  This is because I wanted more of that torn "horror" look to it.  To achieve this, grab a hold of the threads and just pull it out as far as you like.

Are you brave enough to enter?  If not... let's move on to the next one.


I might love horror, but I am also a sucker for the classics.  Every house needs something pumpkin at it around Halloween and when I saw this design I was in love!

The shape is called "Stacked Pumpkins" (ID #21902) and was designed by Loni Stevens.  This can also be found in the Silhouette store.

Using the freezer paper stenciling method, I cut out my shape and then painted it!  Simple as that.


One of the many things I love about burlap is how painted designs look on it.  Crisp enough that the design is visible but broken enough that it has that rustic feel.

{Are you new around here?}
If you weren't a follower of Cut, Craft, Create last Halloween, check out this post for (over) FIVE fun and easy Halloween party ideas , including games, prizes and food ideas.  Don't be fooled by the picture, there are even more ideas on the post.  It also includes free printables, so check it out if you're having a party.


Click here to check it out!

{That's it for today}
I hope you enjoyed the new Halloween signs and are excited to make your own.  Which do you prefer?  Pun-ey, Scary or Traditional?  Although I thought I would like the scary one best, I can't help but love that adorable wolf!


Happy Crafting,
Kelsie Ann

Tuesday, October 8, 2013

Painted Acorns {Fall Decor}

I am a little behind on my fall decorations and now I am running the risk of being behind on the Halloween ones too!  Where does the time go?  To help catch me up a little, I made a quick and easy (but totally cute) fall craft:


These are easy to make and only take a few minutes (plus dry time.)

1. Pick out a few of your favorite colors and an accent color for the tops.
2. Paint!

You can either paint it all together or pop the top of the acorn off and glue it back on when everything is dried.  The latter option makes for a crisper line between the colors but the former option is a little faster.


I love these colors together!  The tops are all painted with metallic gold.

You can display these acorns in a variety of ways.  I chose to put them inside of a glass goblet filled with thick jute twine.  I love the mix of detailed glass with rustic jute!


What colors would you choose? I hope that this has helped you get started on that fall decorating if you are anything like me!


Happy Crafting,
Kelsie Ann

Friday, October 4, 2013

{Tutorial} I upcycled my shoes into a bracelet!

This weekend I am finally getting around to having a garage sale at my house.  I have way too much stuff and absolutely no reason to keep it.  Anyone else like that?  It was hard to let a few things go (like my Beatles Posters) but I have decided that it is time to move forward with my life and get rid of everything I don't use.  One thing that I was planning on selling were these darling shoes that sort of looked like moccasins... with heels!  They hurt my feet anymore to wear them but I just couldn't let go of the fabric that was on them.

I had a choice to make: sell these shoes for 50 cents or...

Make a bracelet out of them!


I know, I know... but I love jewelry and I couldn't bear the thought of getting rid of these shoes entirely.

Here's what they looked like before:


They were super easy to make and took just a few minutes...

 The shape of the fabric was perfect for this project.

First, I cut all the brown straps off of the shoe and pulled them out of the eyelets.  Then I cut the two pieces on each shoe apart from each other.


To make the fabric piece fit comfortable around my wrist, I got it wet and placed it around a gift wrapping tube that was roughly the size of my wrist. To hold it down, use a rubber band or a piece of ribbon.  Let dry before removing.


Next, I took the wider piece and hot glued (that's right, you don't have to sew it if you don't want to!) Braiding Cord onto each end.  I chose to put two cords on each side, but that is personal preference.  Make sure to allow room to go around your wrist and to tie.

I finished it with a small piece of spandex fabric so that it was smooth against my wrist and was less likely to come apart.

To tie the ends, I made a slip knot.  I don't think I have ever made them the proper way, but it seems to always work out!  


Trim off any excess cording and voila!  I can't believe how cute this bracelet turned out.  I am so happy that I did not sell these shoes at the garage sale.


Your Turn!
Is there anything lying around your house that could use a new look?  Consider turning it into a new piece of jewelry in just a few minutes.  What do you think about this sort of upcycling?

Happy Crafting,
Kelsie Ann