
You will need:
-Fabric of your choice
-Heat n Bond (adhesive backing)
-Blank tote-bag
As well as an iron & ironing board, and of course, your SILHOUETTE!

STEP ONE:
Iron the backing to the fabric by placing the glue side of the Heat n Bond to the wrong side of the fabric (side you do NOT want showing.) If you are only using a partial sheet you may cut it down before ironing to save materials.

STEP TWO:
Plan your design (choose from the Silhouette Store or make your own) and cut it out.
*If you do not own a Silhouette, cutting out a shape will work about the same.

We’re almost finished. Don’t you love how quickly this goes?
STEP THREE:
Set the pieces where you would like them positioned on your tote bag, peel off the paper backing and iron for about 10 seconds. If you feel it needs a few more seconds, go ahead.


My
design was layered so my ironing was done in 2 steps.
Finished Product:
Finished Product:
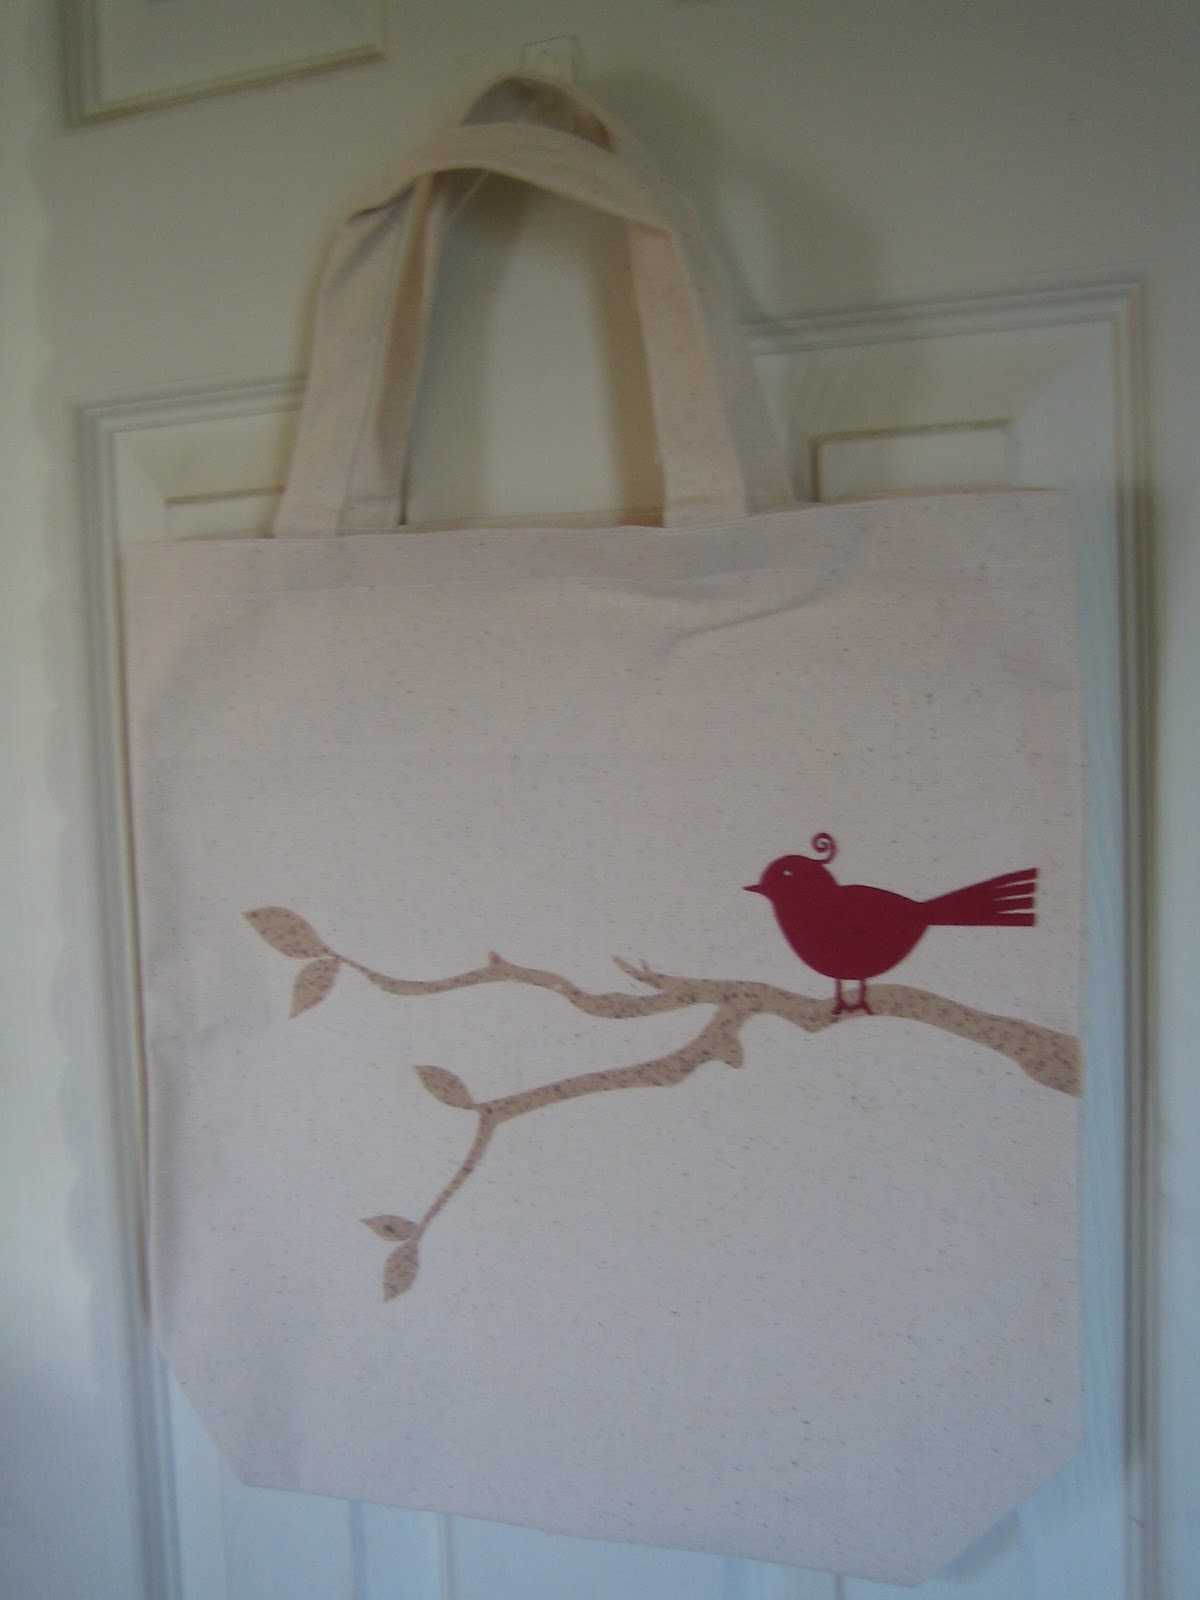
Voila! Now I’ve got a finished tote bag for my mama that she can use to hold books, a beach towel or all that yarn for her new crocheting addiction!
Hope you enjoyed this post and have gotten excited to make your very own tote-ally cute tote bag! Happy Crafting!
No comments:
Post a Comment