

I actually came up with this idea after we had frost one night. Our patio furniture was still out and the glass top table was covered in frost. As I walked past it, I drew a picture with my nail (we're really all children inside, aren't we?) cutting away the frost on top. What I found was so neat: the sparkling frost that covered the bottom of the table was showing through my design, creating this dimensional look that you see here. That look was just beautiful and easy to recreate too; let me show you how:
{What You Will Need}
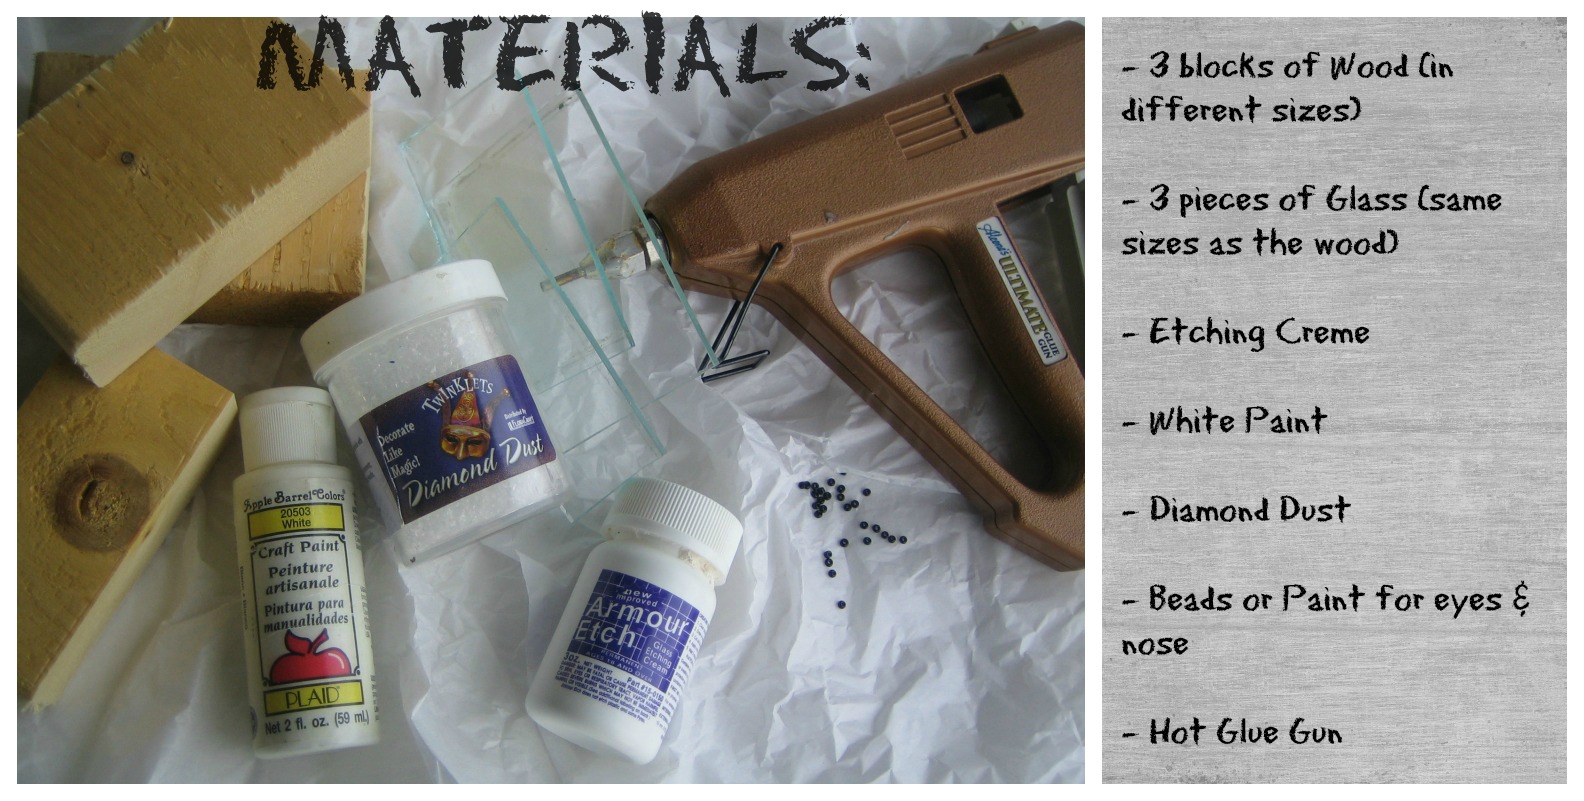
Gather the materials listed above as well your vinyl pieces (3 circles to fit these blocks). For the wood/glass pieces, I used the sizing as follows:
(Bottom) 3.5 inches wide x 2.5 inches tall
(Middle) 3.5 inches wide x 2 inches tall
(Top) 3.5 inches wide x 1.6 inches tall
If you will be cutting the wood and glass yourself, you will also need a saw and a glass cutter. If not, your local glass store would be happy to make a few small pieces for you OR check your local craft store for pre-made sizes.
{Step One: Paint & Etch}

Paint each block with a couple coats of white paint. Since it takes a few minutes to dry, paint one side and move onto the etching.
For the etching, place your vinyl in the center of each matching piece of glass. Make sure that the edges form a tight seal. Then, apply a generous amount of etching creme to the rest of the surface. Follow instructions on your bottle. {Hint: I always keep the etching creme on much longer than it says. 15 minutes or so wont hurt it!}
Finish this step by painting the remaining sides of the blocks and (after the proper time has elapsed) cleaning off the etching creme.
{Step Two: Applying the Glitter}
Add one more thin coat of paint to the front of the wood blocks. While the paint is still wet, sprinkle diamond dust over the top. While it dries, lightly press them in once or twice.
{Step Three: Face Details}
Use whatever you desire to create the snowman's face. I was going to use seed beads, but was having trouble getting them to stay on the glass. I am happy with the paint though, because I could make the black parts look more misshapen like rocks or coal.
{Step Four: Attach the Pieces Together}
Using the glue gun, make four blobs of glue on each corner of the glass. Quickly attach to the wood, pressing lightly. This will allow the pieces to attach together as well as create a spacer between the two (which gives it that dimensional look). Continue this process with all three pieces.

{Your Turn}
Any other designs you would make using this technique? Have you made any winter crafts using etching creme before? It seems like the perfect "frost" to me! As always, I would love to hear your feedback or any input on future crafts you would like to see.
Happy Crafting,
Kelsie Ann
P.S. As I was writing this post, it started snowing here! Too perfect!
LINK LOVE! Linked up to: Every Day is an Occasion and Chick-n-Scrap


