Showing posts with label Sewing. Show all posts

Friday, May 10, 2019

(Beginner Sewing) Pillow for Mother's Day

As Mother's Day quickly approaches, I'm sure many of you are still trying to think of that perfect gift to give.  If you're here, I'm guessing that you probably are looking for some great do-it-yourself inspiration!  That's why I wanted to share this sweet pillow my son made when he was 3.  I think he may have actually given it as a Valentine's gift to his Mamaw (my mom) but it probably works even better for Mother's Day! 

If you've got a kiddo just learning to sew, this is a great beginner project.  The pillow uses fabrics that don't fray so you don't even have to "turn it" which makes it both easier and faster!  And don't worry- if you don't quite trust your little on the sewing machine just yet, let him or her sit on your lap and help "guide" your own hand.  Then let them stuff the pillow or cut the threads all by themselves!  Either way, it's a gift that mom or grandma will be sure to treasure forever AND something that your child can be proud to have made.


I'm not kidding when I say "something your child will be proud of".  This pillow still brings him pride and joy every time he goes to his Mamaw's house!


So here's how you do it:

First, buy your fabric (you will also need some stuffing/fiber fill).  Both sides are made from fleece (one is blizzard fleece and one is anti-pill I think but it doesn't matter at all).  Then cut out whatever shape you want. I cut out the heart shape myself because I was using a rotary cutter and those things will cut off your finger if you aren't careful! ha! But feel free to give your child free reign over this part as well.


Next, Lay the two pieces on top of each other.  Since you are not turning this, there is no need to put right sides together like with most sewing projects, unless you want to make it more finished looking on the edges. You or your child can now sew along the entire edge, leaving a short opening to put in the stuffing.


I love to watch this kid sew...


Allow your child to "make mistakes" or sew crooked lines.  This pillow is from them and that's part of the learning process.  Every wavy stitch is a perfect element to this thoughtful gift. (I don't know about you, but I treasure the "real" stuff way more than perfect things). I know that comes really hard for a lot of mamas, but try to just let it happen.


After the edges are all sewn (minus the small opening), it's time to fill it.  Let your child rip off pieces of pillow filling and stuff it themselves.  This is something that any age and skill level can do and boy do they enjoy it!


Once it's as full as you'd like it, head back to the sewing machine and stitch closed the opening.  Here's where not turning your fabric really comes in handy because you don't have to try to hide this stitch- it's just visible like the rest of them!  Honestly, it's just a lot easier for little ones to do themselves.


All done!  Front and back:


That's it! 
All they have to do now is wrap it up and share it with a special "mother" in their life.  I'll be honest, I'm a little jealous that I didn't get my son's first real sewing project for myself, but I'm glad that he wanted to make it for the woman who is so special to me, my mother.


Saturday, November 3, 2018

Hidden Message Tote Bag


For those who follow our business page, you might have seen that my mama recently had a knee replacement. During her first week in recovery, we had a physical therapist come to the house (my mom is staying with us). Luckily for us, my mom was able to request the same therapist she had for her other knee replacement a year ago- who we all ADORE. My son especially has taken to her and has even kept a "thank you" card for an ENTIRE YEAR (he was 3 years old) that she wrote him for sharing his mini pumpkins with her.


It's adorable. Since we probably wont be seeing her ever again, we wanted to do something to let her know how special she is to us. On the other hand, a lot of companies don't allow employees to accept gifts from their clients. So here's what we came up with:


Oh there's a little more too it though.. keep reading.


My son loves to sew. He's made a couple pillows but this was hist first bag. I cut everything out an he did all the sewing... up until his little sister came in the room and then they got distracted and started playing (hehe)


We used this tutorial from Crazy Little Projects and made one very special adaptation...


Can you see what we added? Here's what it looks like when turned inside out:


Using a sharpie marker, I wrote "Made by" and let me son write his name in a piece of fabric. You could also use a fabric marker but I've found that Sharpie tends to stay on fabric pretty well on it's own (just ask all the clothing we've accidently drawn on). 


After he wrote his name, I cut the fabric out in a rectangle large enough to hold a standard sized book. We knew that our therapist loved to read so we thought this bag definitely needed a special pocket for her book! The pocket is sewn onto the inside panel of fabric PRIOR to sewing the bag together (that way the backside of the stitching doesn't show through the front of the bag)


Of course, she could also use the bag with the pocket on the outside as well. This bag is reversible!


Since her and my son had a special relationship we thought she would just melt over the added bit of love that we snuck into this bag. This would be great for moms, aunts, grandparents or anyone who would love to see a special note every time they reached inside their bag. I think it would even be great for students and friends to see a special reminder just from you, secretly tucked away.


Who would you make this bag for? And what kind of message would you put inside! I'd love to know so please comment and inspire others to create!


Tuesday, March 22, 2016

Turn old Leg Warmers into Pants in under 15 minutes!

I have been itching to do today's craft for a long time and just kept putting it off for other things.  I don't know why I did this though because the entire project took only 15 minutes- start to finish!  And honestly, that was with me stopping to take photos so it's probably even quicker than that.  I absolutely *love* the finished product.


So here's the story.  I had these amazingly adorable little leg warmers that I never wore (because I'm not cool enough to pull them off).  I couldn't bare to sell them and have kept them around FOR YEARS waiting to find some way to re-purpose them.  When my little guy came along I decided that I would use them to make lounge pants for him.  It was perfect!  Pants are basically just two legs, which is exactly what two leg warmers are (I know, that was such a smart statement- ha!)

Depending on the fabric of your leg warmers, the size may differ but with no extra cutting down my leg warmers made pants for my (on the short side) one and a half year old.  If you want a smaller size, use the same instructions just cut it down a little.

{Seriously though, those leg warmers are totes cute aren't they?}


All it takes is SIX easy steps.  This post includes a lot of photos to help you along the way but it's super easy.

Step 1: Measure your pants.


Using an existing pair of pants, figure out how long the leg needs to be.  Place a pin on the leg warmer at the same spot as the groin where the two legs meet.  I used two different pairs of pants just to double-check the fit.  Both pairs had the groin seam (is there a better name for this?) in the same spot which is always reassuring!

Repeat on both leg warmers.


Step 2: Cut your opening.


Going from the pin that you marked, cut a straight line all the way up to the top of the leg warmer.  If they had a string running through the top like mine did, remove the string and cut the leg warmers with the hole at the cut.  This isn't of top importance but when you go to fold it down and re-string it as pants you wont have a random hole on the inside giving you trouble.

Repeat with both leg warmers.


Step 3: Pin the two leg warmers together and sew!


Don't forget to turn your fabric inside out before pinning.  If you have a design that needs matched together, now is the time to carefully line those up.  If you look at photos later in this post you will see that I neglected to do that on the back of the pants (arg! so frustrating) and was able to correct it by the time I got to the front.


Use your judgement on whether or not your fabric needs more reinforcement.  I thought this would be the case for mine but one straight stitch at 1/2 inch held strong!


Step 4: Measure the top of the pants/Make a casing.


Once finished sewing, turn it right side out again.  Hey... they actually kind of look like pants now!

Next, bring in your previously owned pants and figure out where the waist needs to be in relation to the split at the legs.


Fold the fabric down into the inside of the pants.  Sew another straight stitch along the entire waist at roughly 1 inch below the fold (where the dotted white lines are above).  If you want to make it fancy with a double needle, that looks very professional but if you don't really care (like myself) one stitch will get the job done.

If you are folding down several inches, cut some off before sewing.  Just make sure you still have enough left for the stitching to "grab" both layers 1 inch down.  This is going to be the casing for your drawstring.


Step 5:  Cut a hole for the drawstring.

On each side of the center seam on the front side of the pants, cut a small hole for your drawstring to come through (1 on each side, 2 total).


Step 6: Insert the drawstring.

Depending on your fabric you might want to add some fabric fray to keep the holes from getting bigger after wearing/washing.


Yea, I forgot to do this before inserting my drawstring.  I could have just taken it out but the babe was awake and trying to "help" so I didn't have time to dawdle.  Learn from my mistakes.

Use a safety pin on the end of your drawstring to make running it through the casing easier.  I used the leftover string that I took out of the leg warmers but your local craft/fabric store will have some as well.  You may sew up the ends if you like or you can simply tie the ends in a knot.


That's it!  So easy and such a fast project.  I kind of wish I had kept more of my old legwarmers around (not like the kid needs any more clothes!)


Because leg warmers are made of a stretchy material, these pants can stretch over little one's bottom without having to angle your pieces at all!


...and since the bottoms of leg warmers are already finished, these pants have a crisp cuff at the ankle that we never even had to make!  Gotta love projects that practically do themselves.


I love them too buddy.  Thanks for helping me keep this adorable fabric around just a little longer.

Happy Crafting,
Kelsie Ann

Thursday, May 28, 2015

Fun Facts Friday- Seam Ripper


Welcome to our first Fun Facts Friday, where we take a look at something crafty and learn about it's uses, tricks, tips and more!  Today's post, whether you love it or hate it, is a staple in every sewing household... the seam ripper.


What is there to tell you ask? Well my friends, I first want to explain why every seam ripper has that little red ball on it.  It's not just for looks and when used correctly will make the job go 10x faster!  I also wanted to share a list of unexpected uses for this little tool.  Mind boggling, I promise!

First things first... why the little red ball?


If you are anything like me, you will pick each (or at least every other) stitch with the seam ripper to undo a sewing "oops".  But did you know that you can put the ball side down and simply run the seam ripper all the way down the opening of your seam?  It's just like using a rotary cutter except for that little red ball protects your fabric from ripping or catching while the sharp long end quickly cuts through the stitches.

Check out this video from Keeping u n Stitches Quilting for a brief demonstration of this technique.  I can't believe how fast and easy this is.  I also can't believe that I have learned this before and yet keep forgetting!  That's valuable sewing time!

WANT EVEN MORE USES FOR THE SEAM RIPPER?

Obviously it rips out seams (duh) but this handy little tool can also help you in other areas of sewing and in life.

Check out this list of "10 Reasons To Love Your Seam Ripper" put together by ikatbag.  It's a funny (and informative!) article and she's a funny blogger.

[photo credit to ikatbag.com]

My favorites are to cut open button holes, poke holes for prongs/fasteners and... make pleats!  Genius.  I love it.

The seam ripper can also be used in non-sewing areas of life...

[photo credit to www.realsimple.com]

Oh.My.Gosh.  Yes... it can be used to get all those strings, hairs and who knows what else that gets all twisted in the vacuum cleaner.  I repeat... genius!  Check out other "life hacks" from Real Simple.

I hope this Fun Facts Friday was informative and fun!  I've always been grateful for this tiny little tool, but now that I know what all it can do, it might just bump up to one of my favorite sewing tools of all time!

Have you ever used the seam ripper in an unexpected way?  What was it?

Happy Crafting,
Kelsie Ann


Saturday, June 28, 2014

My First Ever Quilting Experience

Okay, so here's the deal:  I don't quilt.  I sew.  I sew outfits, I sew decorative items, I sew burp cloths and other baby items, but... I do not quilt.  When I found out my cousin (who is practically a sister, let's admit) was going to have a baby, I knew I had to learn how to- you guessed it- quilt.


I had hoped that this baby quilt would be the start of my new found love for quilting.  After all, my husband loves those quilted comforters for the bed and I think all the ones in the store are u-g-l-y.  Maybe a new hobby could result in a win-win situation for us.  I will let you in on a secret- it didn't.  This quilt took me around a year to finish, not because it was difficult but because I did not focus on it and just GET IT DONE.  I'm proud to say that it is done now, in the hands of my little "nephew" Ethan and that he will know his aunt Kelsie must really love him because he owns the only quilt she will ever make.

Don't let me deter you from quilting, everyone has their "things".  Did you know I also have some amazing scrapbook pages but crash and fail when I try to make cards?  Funny, isn't it?  Oddly enough, the part I struggled with the most in making this quilt was not the actual top quilting but just sewing the pieces together.  This pattern is perfect for a beginner quilter because it only uses square and rectangle shapes and a very basic quilting design.  I even left off the binding and finished the edges myself.

Aaaanyways, let's get on to the pictures!


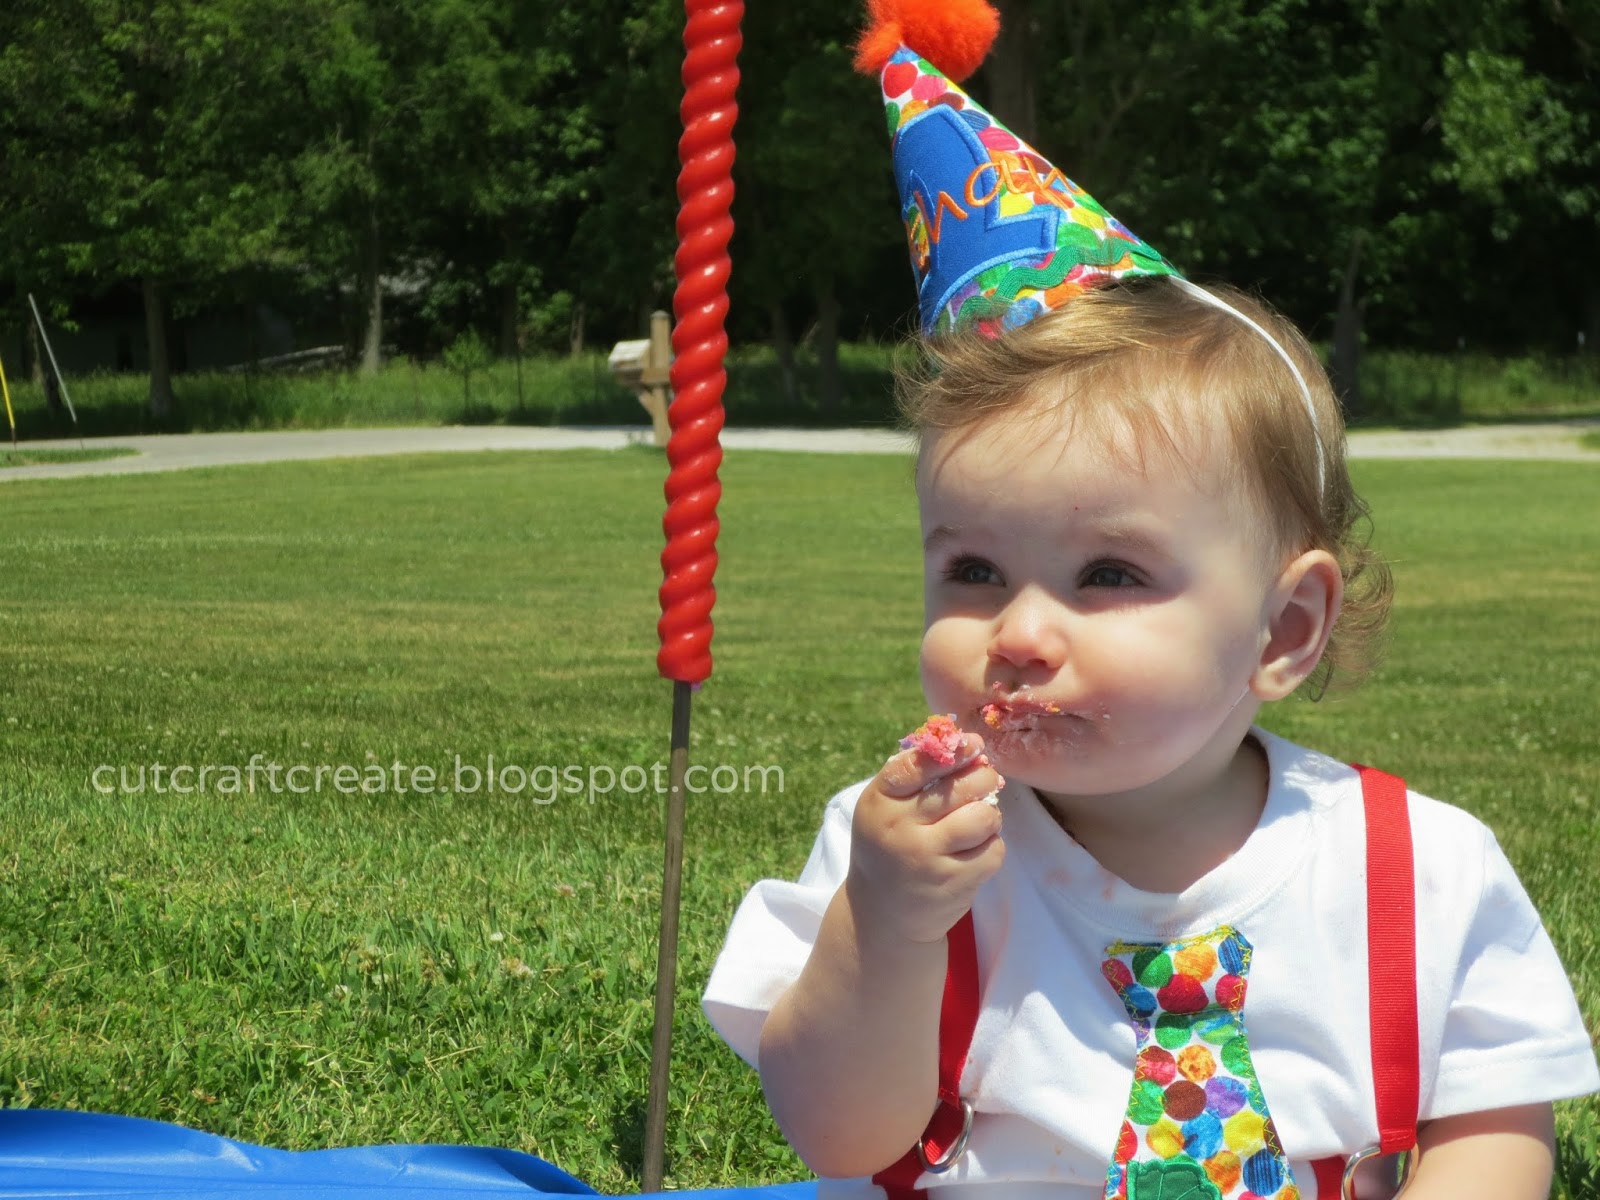
This is my nephew Ethan just a few weeks ago as he celebrated his first birthday.  Handsome little guy, isn't he?

As you can see, the quilt has basic square and rectangle shapes for the piecing.  The whole quilt was somewhere around 36-48 inches (sorry, forgot to measure again before giving it away).


Ethan's nursery is jungle themed so I went with browns, greens and jungle animal print.  The details are what really makes this quilt stand out.


Firstly, I found some blue gingham that matched the gingham on the elephant's ears perfectly!  I was so excited that I was able to work in this added little touch.


Secondly, I added his name to make it personalized.  Don't worry, this is entirely NO SEW.  I cut my shapes out from the same fabric used throughout the quilt.  The fabric was backed with an iron-on stabilizer (like Heat -n- Bond) and was cut using the Silhouette cutting machine.  It cut beautifully and all I had to do was iron each piece on the quilt!  Make sure to use a permanent hold iron-on so that you don't have to sew around each letter.

Instead of messing with quilt binding I simply ran a top stitch along the entire quilt edge.  It gives it that finished look and takes half the time!


For the "quilting" on top, I picked simple shapes again- going with squares and rectangles.  To do this use disappearing ink markers or make your own "pattern pieces" that you can stitch around.  I cut squares and rectangles out of tissue paper, pinned them on the quilt and sewed along the edges of the tissue paper before removing.


I also thought basic shapes might be fun for Ethan to recognize as he gets older.  The entire backing is made with a fabric used in the front that ties in every color.  Plus, more basic shapes to recognize... the fabric is covered in circles!


Randomly place shapes across the quilt space to help tack it down.  I machine stitched my quilting (because it already took me far too long!) but did so with a regular sewing machine.  No expensive quilting machine required.

{That's it!}
So folks, that's it- my first quilt.  It's not perfect and I didn't find a new "passion" in quilting but I love to think of my little nephew using something that was made just for him.  I also hope that this basic pattern inspires some of you to try quilting for the first time.  Maybe you will find a new passion for it- I sure hope so!

Here's a picture of Ethan's mom {Amanda}, Ethan and myself when he was around 6 months old.  Love that naked baby belly!

Happy Crafting,
Kelsie Ann

Wednesday, February 5, 2014

"Love Note" Cup Cozie

As you may or may not know, I am not one of those girls who loves Valentine's Day.  I'm also not one of those girls who hates it and sets out to make it an "anything but love" day.  I just sort of let it be another day.  I do, however love red and pink together and of course, hearts!  I also know that many other people go all out on this special day and want to inspire you to create something unique that shows your special someone how truly special they are.

Have you seen all the beautiful handmade cup cozies all over Pinterest?  Although my husband doesn't drink coffee or hot tea, I am a big fan of both and I bet that someone in your life is too!  Your special someone needs more than just any cup cozy... they need a "love note" cup cozy!


The envelope sits at the end of a hand stitched message: "Just thought you should know..."
It's hard to get it all in one picture, hope this helps:


With this cozy, you can tell your loved one how you feel- in a new way, each day!  I love the idea of saying encouraging words ("that you are so talented!") words of wisdom ("it gets better and you will get through this") or simply "I love you!"

It's easy to make here's how:

MATERIALS:
- Two (2) fabrics- one plain, one printed
- Thin batting
- Thread in matching color to sew & opposing color to stitch message
- Two (2) buttons
- Ribbon or (2) elastic hair ties


STEP ONE: Trace & cut the fabric. 
 
Using another cup cozy, trace the shape onto the fabric.  If you have a paper one, rip it apart so that it will lay flat.  If you have a reusable one like me (It came with a cup that I have), lay it as flat as possible, trace, line it up and then trace again.

 {Disappearing Ink pens work great, but if you don't have one with you, then a pencil works fine!}

Cut this piece out, giving yourself about 1/2 inch outside of the line to allow for the seam.

Use the (now 1/2 inch larger all around) piece to trace the shape onto the second fabric.


Do the same with a piece of thin batting.  I recommend cutting that shorter (about where the original line was drawn) so that you don't have to worry about it bulking up when you sew the seams.


STEP TWO: Stitch your message.

Using a pencil (or disappearing ink pen), write out your message onto the solid fabric.  Next, hand stitch over the pencil with the contrasting color.  I said "Just thought you should know..."


STEP THREE: Make an envelope.  I had to play around with the fabric to get the right shape but if you make it look like this one, you should be fine.


Sew the sides and bottom down next.  Start with one side, then the other, finishing with the bottom.  I suggest tacking it down at the corner edge and sewing a stitch where it folds for a crisper line and a more "envelope" look!


To finish it up, I ran some stitching across the top (just for looks).  I also folded the top down (like a closed envelope) and ironed it so that the flap would stay down when it was finished (not pictured).


STEP FOUR: Attach the envelope.

Pin your lovely new envelope to your solid fabric immediately following your embroidered message.  With a sewing machine (it's much faster!) run a stitch across the sides and bottom to secure it onto the cozy piece.

{I used red thread to stitch it together & white thread to secure it, just for fun.  It looks lovely!}


STEP FIVE: Pin all your pieces together & sew!

Face your two main fabrics, right sides together.  That means the embroidered message and envelope will be facing the heart print on the other piece of fabric.  Next, lay the batting onto either side, creating a three fabric pile.


Pin it all together and sew THREE sides (both long sides and only one short side).  Don't forget to leave one short side open!

This will attach everything together.  It will probably have this "pillow" look if you batting is a little thicker like mine:


If you sew at 1/2 inch, your stitching should line up about exactly with your original pencil lines.  It's not important that they do, but it will make you feel like it is turning out to be the right size!


Once it is all sewn up, pull the fabric right side out through the short end that you left open.


Don't freak out if it looks really small.  Instead, go iron it flat.  Because of all the batting and being reversed, it doesn't look very wide, but I promise, it's the same as your pattern cozy once it lays flat!


STEP SIX: Attach the loops.

Using ribbon or thin hair bands, create two loops that will stick out of your open end.  I used ribbon because I thought it would look nicer, but I think hair bands would be better for fitting a variety of different sized cups.  If I do this again, I will use something elastic.


It might help to get some of your favorite cups to get an idea of how big your loops need to be.  If you make them too long, they wont hold tightly against your mug.  Wrap the cozy around the cup and see how far they need to go to "close" the gap.

Don't forget to fold in the edges of your fabric pieces for a nice finished look.  Pin it all together.


Sew it closed.  I made two lines of stitches for looks, but try to get yours as close to the edge as possible to make sure that it catches everything.  You can do as many lines as you want!


STEP SEVEN: Add buttons and enjoy!

Sew two buttons onto the other end of the cozy.  These will be used to wrap the loops around to secure the cozy onto the cup.

That's it!
Seven steps but super easy!  I love the hand stitched message and that adorable envelope.  If you want to add a snap or Velcro to close the envelope you can, but ironing it down will do the trick!

Plus... it can go on ALL your favorite mugs- with or without handles!


AND... it's reversible too!


This might be the best thing ever.  I love cup cozies and this one is extra sweet.  Don't forget to add your message with love!

Happy Crafting,
Kelsie Ann