Showing posts with label invitation. Show all posts

Thursday, October 4, 2012

Jumping Spider Pull-Tab Can

I have been itching to try one of those pull-tab can crafts where you put goodies like candy or gifts inside.  Don't know what I'm talking about?  Check them out here, here, or here!  This time however, the can is filled with spiders (fake, of course) and when the tab is pulled, a spring causes the spiders to jump out!  How perfect is this for a Halloween party?


Materials
- 1 can with a pull-tab top
- Fake spiders
- 1 compression spring (I made my own using a slinky!)
- Cardboard


{Step One}
Peel the label from the can.  Then remove the bottom (the side without the pull tab) with a can opener.  I would suggest keeping one spot connected.  Remove everything inside and wash it out.


{Step Two}
Glue your label onto the can.  Remember that the open side will be the bottom when you're finished!

 {I designed this myself using picmonkey.  They have a GREAT selection of "Halloween" effects right now}


{Step Three}
Cut a piece of cardboard that is just slightly smaller than the can opening.  It needs to be able to move, yet not let the spiders fall through it.  Next, glue one end of the spring to the center of the cardboard.

 {If you can't find a good spring at the hardware store (I couldn't), pick up a mini-slinky and just twist it as you pull it apart.  This will create a loose compression that you can cut to any size.  Let us take a moment to thank my brilliant husband for saving this project with his idea!}


{Step Four}
Place the spiders in the bottom (really the TOP) of the can, face down.


{Step Five}
Glue the other end of the spring to the center of the open lid (the actual bottom of the can).


{Step Six)
Place the spring fully inside of the can, making sure that the cardboard lays right over the spiders.  CAUTION: Be careful not to twist the spring too much or it may not spring out correctly.  Then close the lid and glue all around the edges, sealing it up.

 {It is okay if the bottom looks messy.  No one will see it and it is more important that it stay closed}


That's it!
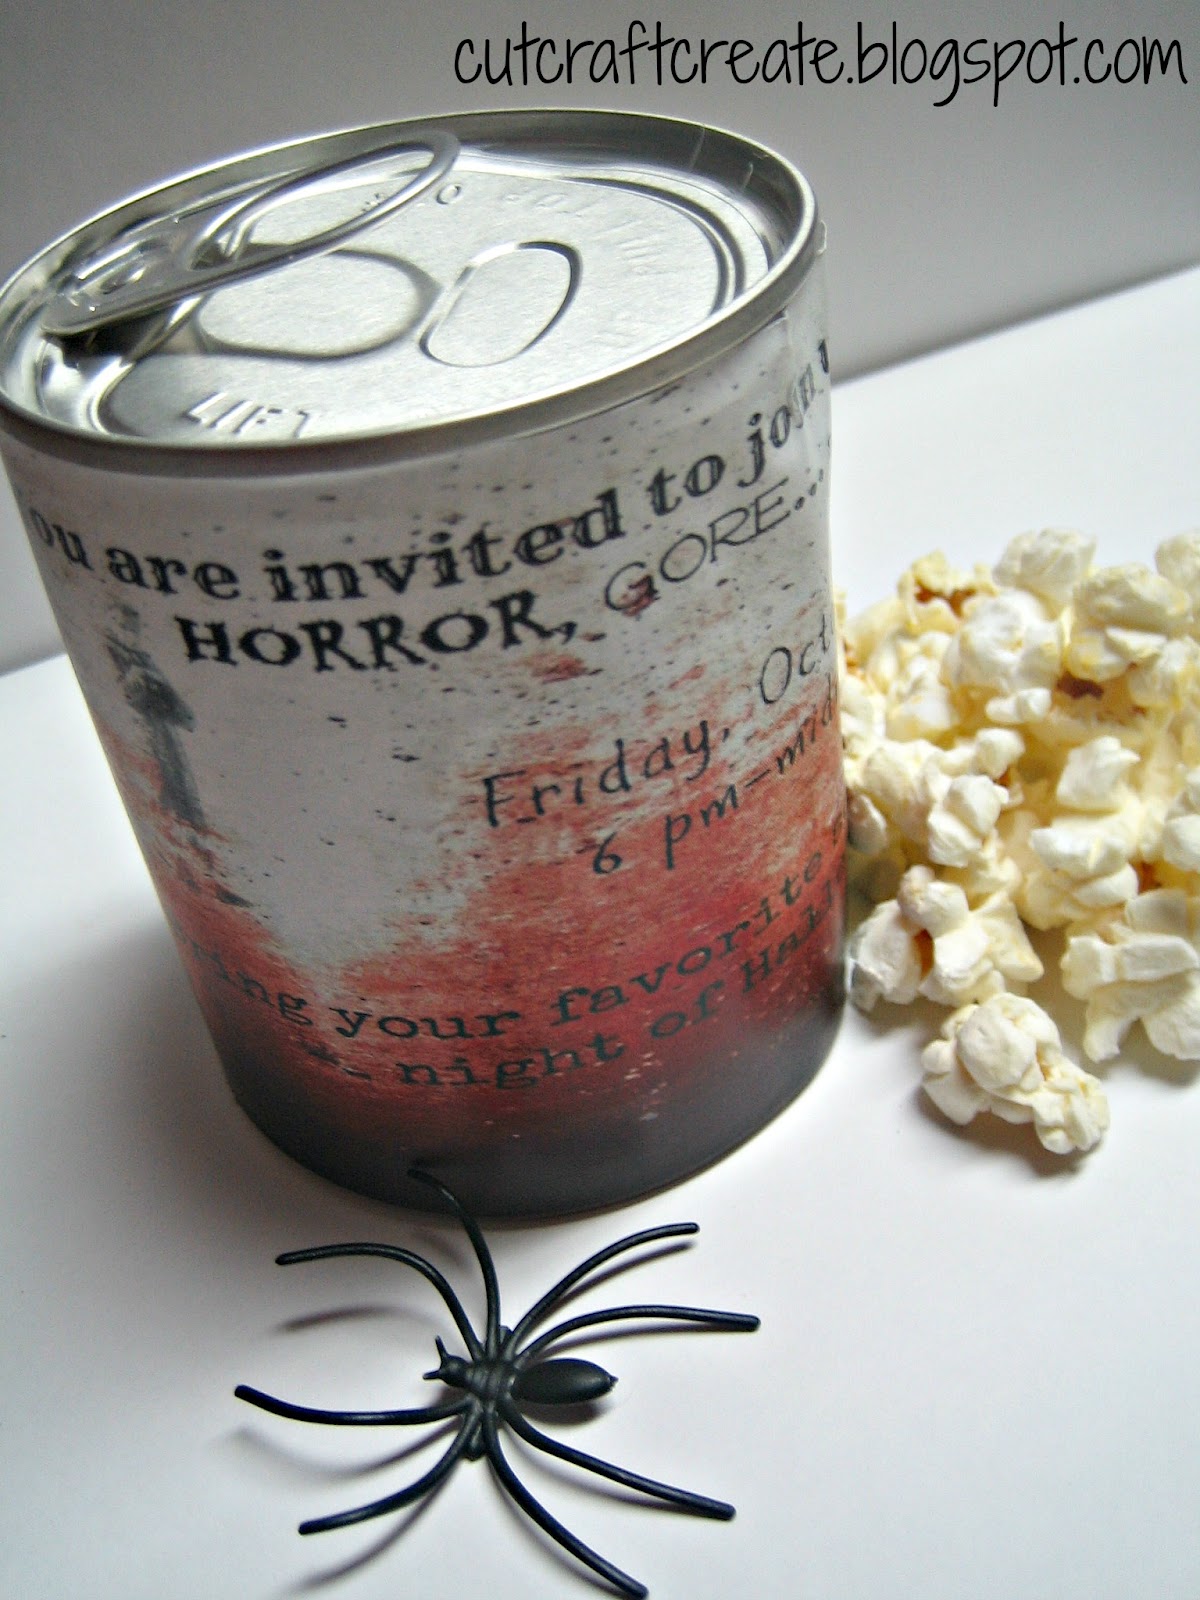
Now all that is left is to give it to a friend and watch them JUMP as the spiders fly out at them!  I think all the pull-tab crafts are great but this one is really neat for all of you Halloween Scare fans out there... and it goes perfectly for a scary movie invitation!

I apologize for not having a video/pictures of the spiders jumping out.  Our computer has been experiencing some problems and I am unable to open any video editing program and currently, even the video itself!  I promise though, it works and is super fun!

Your Turn!
What is your favorite scary movie?  Or... are you more of a Great Pumpkin Charlie Brown kind of person?  (I like both kinds!)

Happy Crafting,
Kelsie Ann

Link Love!  Linking to the Craftaholics Anonymous Fall Frenzy Link Party! Every Day is an Occasion and D.L. Art

Monday, September 17, 2012

Wedding or Anniversary Gift for a Friend or Yourself!

I. Love. Pinterest.  Three little words that mean nothing to an "outsider", yet brings about a sense of connection to those who are also *ahem* addicted.  I try to design my own crafts on this blog so that you are receiving new ideas and not just my version of the same old thing that is pinned a hundred times elsewhere.

Well today, I have to source pinterest for this idea.  BUT... before you click off this page, let me tell you how I took the same idea and changed it up to fit my life.  If you stick around I will give you a cookie.  Okay, I can't do that but I will give you a memorable gift idea for a friend, or for yourself!


{It is a decorative jar filled with our ceremony program from the wedding.  What a perfect way to remember that special day and decorate the house}


Here is where I got the idea:


How I changed it:
{1} I used a mason jar instead of a Christmas ornament.  I wanted something that I could have sitting out year round instead of only at Christmas.  Just FYI- I plan to also make the ornament this year.
{2} I used our ceremony program instead of the wedding invitation (like she did).  I did this for two reasons; 1- I needed more paper because the jar is larger and 2- Our invitation was not done on regular paper.  Want to know what it looked like? See it here.


What you need:
 {All you really need is a copy of your program (or invitation) and a jar.  I also opted for some heavy twine just to dress it up a little in rustic fashion}


Cut the paper into strips and roll them around a pencil:
 {I cut everything into a single line except for our scripture (see top picture) and our song/composer (see bottom picture) because I thought those were best kept together}


Lastly, I added some twine:
 {I might trade this out for some lace, or ribbon or bakers twine.  I am giving myself time to think on it}


Isn't that easy?
This craft takes no time at all but says so much to the person receiving it.  I think I may go back and cut up some more of the back paper (the yellow) so that the jar is all the way full.  


One more thing...
{I know this is a terrible picture but I wanted to show you all this added part.  I connected a small light to the inside of the lid so that when it is dark (or even shady) the paper pieces light up!  How neat is that?  Now it sits in our new curio cabinet between bride & groom figurines that we received as a wedding present.}


What do you think?
Do you like the idea of the paper pieces in a jar or would you just stick with the ornament?  Any other idea for how to make it a part of "daily life"- a shadow box maybe?  Give me your thoughts!

With Love,
Kelsie Ann


 LINK LOVE!  This post is linked up to Every Day is an Occasion, go over there & check them out as well!