
Wondering what in the world these themes were?
My son's 2nd birthday was "My Favorite Books" (perfect for kids who don't watch t.v./have favorite characters or who love reading).

The other was my daughter's 1st birthday which was a "Little One Big Adventure" theme. That theme by itself is very popular, but I found there was little to nothing out there for a more "girlish" perspective on it.

When my son turned 3 however, he wanted a 'Construction" theme. This idea was EVERYWHERE! I had so many cute DIYs in my Pinterest folder and started to get carried away. I couldn't possibly incorporate every cute idea I saw into the party. So I decided to make it simple. Often times we get a little carried away with parties and themes and we lose sight of what it's about: Celebrating this cool little guy and making it fun for him on his special day.
[Disclaimer: This post contains affiliate links. Purchasing through these links gives me a small commission which I use to help bring you more content. This is at no additional charge to you. Thank you for supporting my blog.]
I did create my own special element though (hint, hint, it's a pretty special pinata)... scroll down to see what it is. Read on to see how I went simple to create a perfect party for my favorite little guy:

Is it really possible to have simple decor that doesn't cost much, take a lot of effort and still look put together? YES. Here's how:
Step 1- Theme the food.
It's the only thing besides *maybe* seeing your kid that people actually care about. So get good food and make it fit your theme to add a little extra fun. Here are some ideas to get you started. We themed the foods for his second birthday party as well (it's easy to do!)

Incorporate dump trucks and other construction vehicles into the food setup to help draw in the theme. We just used some we already had around the house (clean them well before putting food in them!)


Using Picmonkey or even the Paint program, create "signs" that look like they belong on the construction site. Don't forget to include your creative names for foods!


I also made those "Dig In" signs (just printed on cardstock) and taped them to a section from my son's construction themed train set! Add a few little worker guys and some safety cones and voila! Easy decor.
Print out some "Gas and Diesel" signs for the drinks and they are done...

I'm about to real with y'all. I saw this adorable idea for construction cone cups on Pinterest. You just take tape and wrap it around plastic cups. It SUCKED. The tape is hard to get to lay flat on the curved cup and maybe I'm just not that skilled but I made about 3 of them and stopped. Never again..

To finish up the food area, I put all the utensils in a toolbox we had lying around (my husband is a shop teacher so he had about 5 of these in storage from class projects!) Even though the red didn't match I wasn't about to re-paint it. The black, white and yellow looked great in there anyways!
Again, sign made on my computer & printed on cardstock. Themed wording of course...

Step 2: Decorations
Here's where it gets real easy. Assuming your kid already has some construction toys lying around (and they probably do if that's the theme you went with) your decorations are practically done! Grab some black tablecloths, run strips of yellow streamers down the middle and smack some construction vehicles on there. Boom, done.

We LOVE this CAT construction trucks set (a few of them seen in the bottom right photo). Both of my kids love to play with them and they have held up really well, especially for being inexpensive. (and they are great for little hands).
Of course, balloons and streamers are a classic party decor for kids. And we all know that those cheap dollar store balloons will get played with more than any gift from the party.

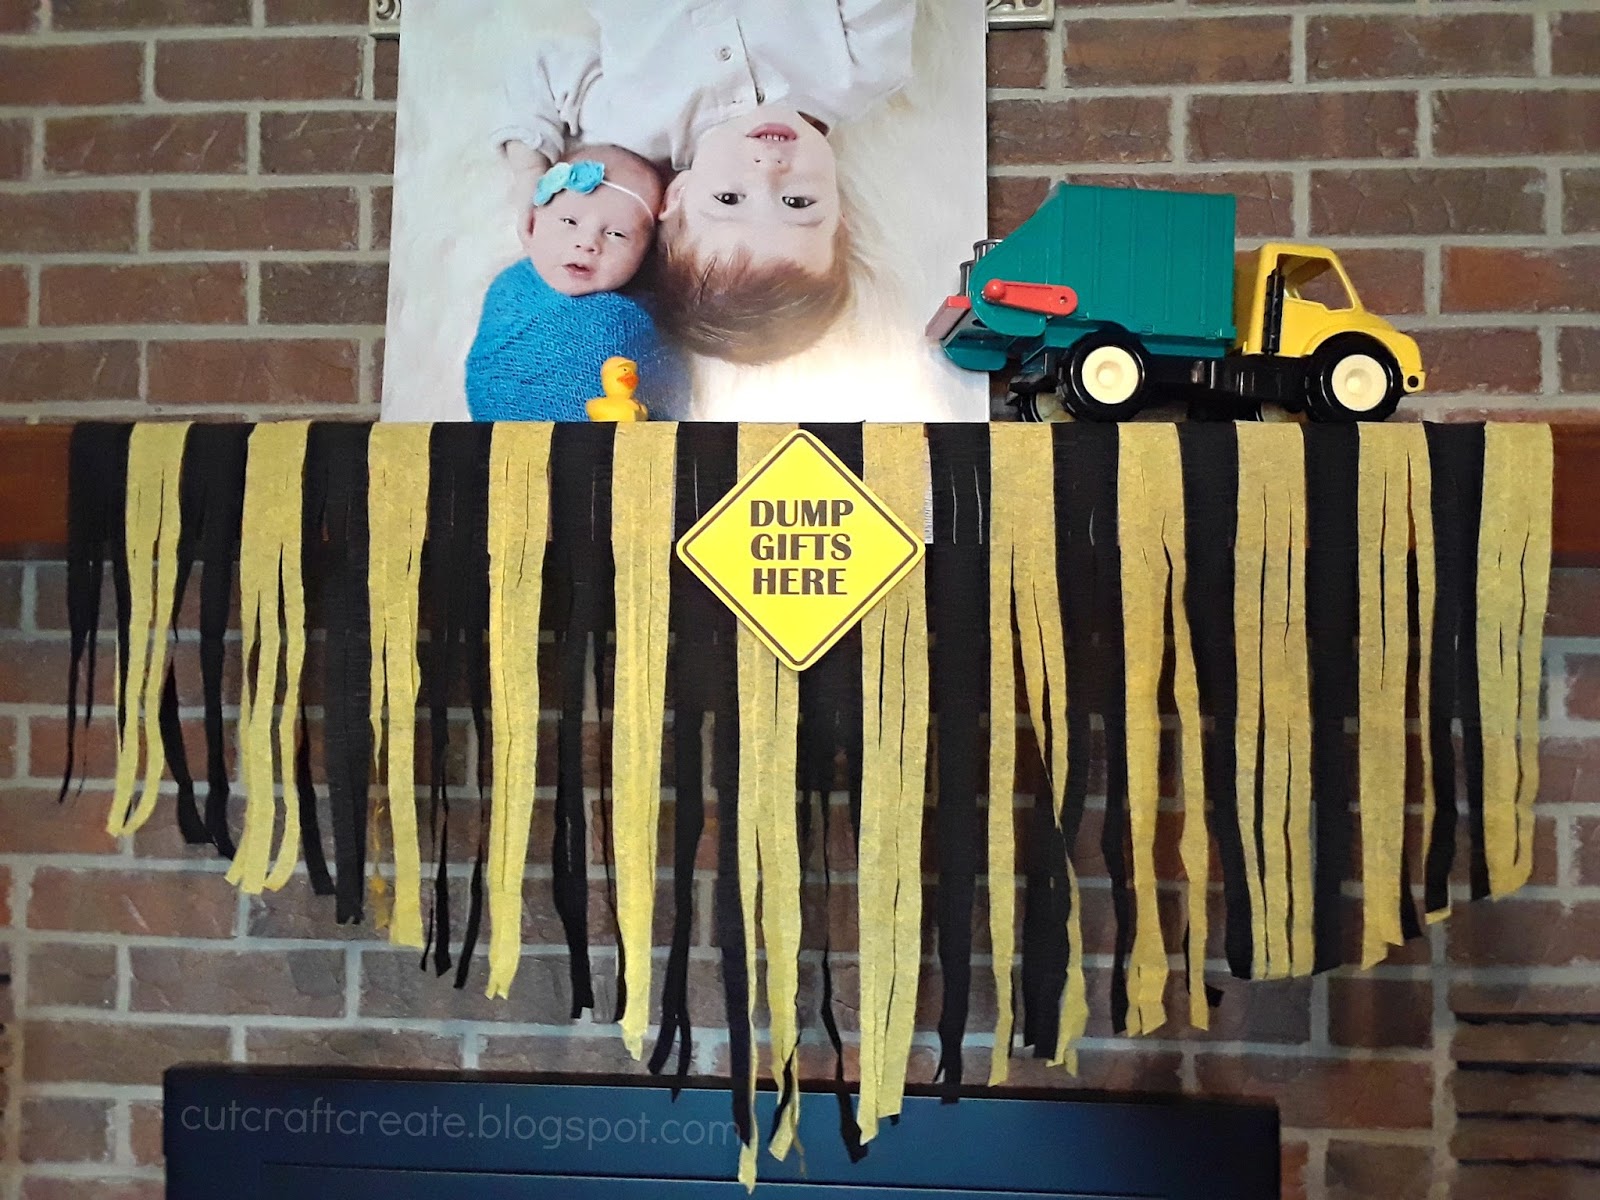
I made one final sign for the gift "table" (or in our case, gift fireplace) that says "dump gifts here". Cut up a few streamers and add a garbage truck and you're done. (Okay, a garbage truck isn't technically 'construction' but my son was (is still!) obsessed with this toy so we had to include it. Obsessed y'all.
I also snagged these plastic safety cones and open frisbees from the dollar store hoping to create a fun game of "ring toss" but no one really played it (maybe if it were outdoors they would have). Oh well.

Step 3- Add cake
Because, what is a party without cake? This is my favorite theme ever to make a cake because its supposed to look bumpy, messy and all dug up! Perfect for someone who can't manage to put together a cake without breaking it (ahem.. me.) Just make a cake, put it together (or don't... like my giant clumps that were mostly frosting), frost in brown chocolate and cover with crushed oreos.

Using more toys as props, set up a simple construction scene. (I recommend buying a cheap set from the dollar tree for this because these toys will get messy. We still kept ours after cleaning them off but just incase you can't get it all clean it's not worth big bucks)
Add a few of these adorable safety cone candles and remove crushed oreo in the shape of your child's age and that's it!

Use leftover crushed oreo to create "mounds of dirt" or to put in the buckets of the toys vehicles.
My son is more of an ice-cream guy than cake but he had a BLAST playing in it after everyone else had their slice.

Okay, and a little before everyone had a slice...

Okay, okay... it was pretty hard to resits playing in all the food with all these great toys around!

Did you see his shirt?
Since we own our own small business that makes shirts, we of course always make our kids their own birthday shirts. Although we do always seem to be making it the day before/day of the party #procrastination #allotherordersfirst However, if you have a Silhouette or a Cricut you can easily make your own shirts too!

He loves his "Diggin' Being Three" shirt and always tells people it says that when we wears it! (We actually didn't heat press the back design and removed it after the party so he can wear it year round!)
I would love if you followed my small business on facebook or instagram, we have a lot of fun on there & would love to have you!
Last but not least: the pinata!
This was my favorite element from the party and although the most time consuming, I'm so glad we had it. This was the first time I've ever made my own pinata (Pinterest is full of tutorials) and I think it went pretty well. I made a round(ish) ball shape, painted it black and hung it from a string on the wall.

I used yellow poster boards and black cardstock and hand drew (Yes, I'm pretty proud of myself. I'm not generally much of an artist) a large crane. For the brick backdrop I used the thicker foam board and painted it to look like brick. I did this because I didn't want paint from the pinata to come off on the wall. Turns out the 3M I used to hang it up tore the paint off the wall anyways so it probably didn't matter! Oops.

[Very] last minute I thought to print off a photo of my son and add him as the 'driver'. That's why he has lines on his face- because I have a crappy printer. Be better than be, print this ahead of time!
My son was the only one who used the pinata (it was a family only party and no other kids were there when we did it) but he still got to smash something into the wall *without getting in trouble!* and got lots of little treats. I got a really cool decor piece for the party. Win-Win.
What's your favorite element?
I hope you feel inspired to create a simple but well put together party for your Construction themed birthday. At the time my favorite was the pinata but seeing how tickled my son is about the shirt 6 months later, I'm pretty glad we made that too.


 will bring you to a wide variety of options.
  comes in several bright colors for under $5 a piece or you can snag
  of assorted colors for under $9. (the assorted pack is more the style of our apron and I love it. I might have to buy this and make some more aprons for my daughter and their friends!)
 (or pre-made
  ) design your name and cut out from heat-transfer vinyl. You may also add a design under the name for a little extra something. These can be purchased for personal use in the Silhouette Store, or create your own. [Don't forget to mirror your design when working with HTV before cutting or your letters will be backwards!]


