Showing posts with label can. Show all posts

Thursday, October 4, 2012

Jumping Spider Pull-Tab Can

I have been itching to try one of those pull-tab can crafts where you put goodies like candy or gifts inside.  Don't know what I'm talking about?  Check them out here, here, or here!  This time however, the can is filled with spiders (fake, of course) and when the tab is pulled, a spring causes the spiders to jump out!  How perfect is this for a Halloween party?


Materials
- 1 can with a pull-tab top
- Fake spiders
- 1 compression spring (I made my own using a slinky!)
- Cardboard


{Step One}
Peel the label from the can.  Then remove the bottom (the side without the pull tab) with a can opener.  I would suggest keeping one spot connected.  Remove everything inside and wash it out.


{Step Two}
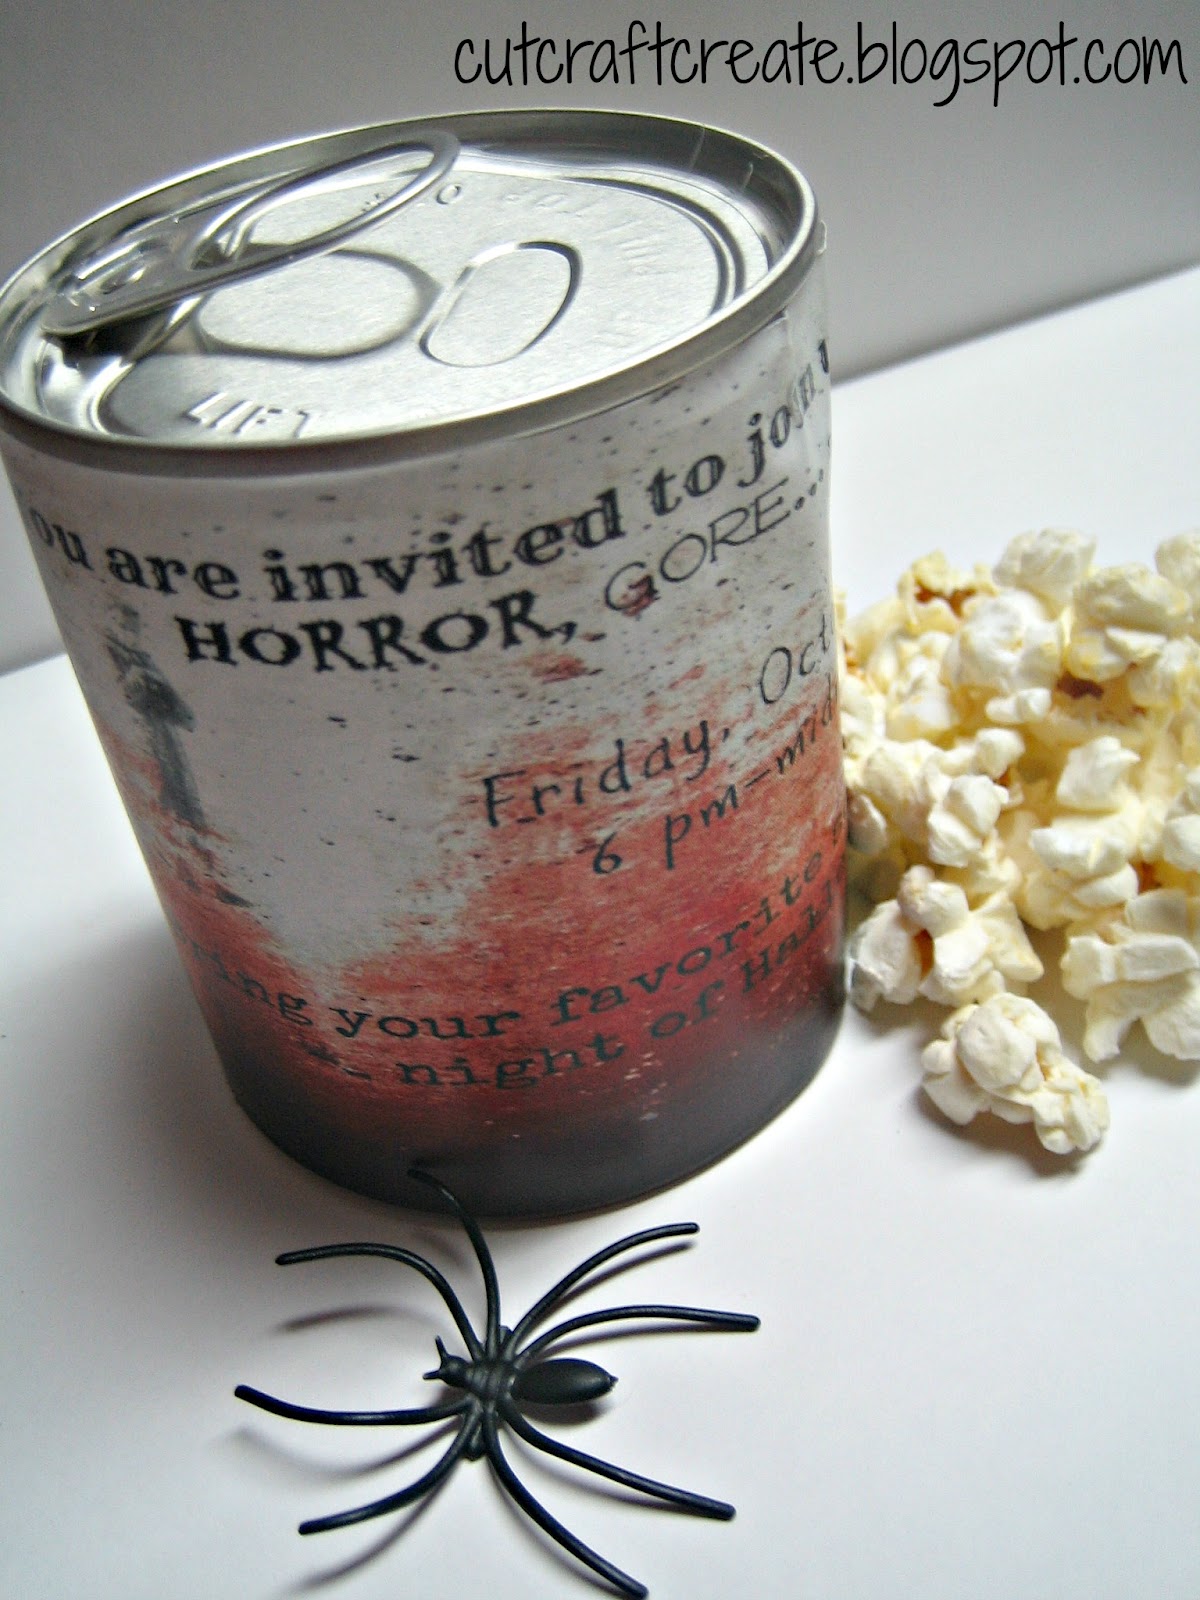
Glue your label onto the can.  Remember that the open side will be the bottom when you're finished!

 {I designed this myself using picmonkey.  They have a GREAT selection of "Halloween" effects right now}


{Step Three}
Cut a piece of cardboard that is just slightly smaller than the can opening.  It needs to be able to move, yet not let the spiders fall through it.  Next, glue one end of the spring to the center of the cardboard.

 {If you can't find a good spring at the hardware store (I couldn't), pick up a mini-slinky and just twist it as you pull it apart.  This will create a loose compression that you can cut to any size.  Let us take a moment to thank my brilliant husband for saving this project with his idea!}


{Step Four}
Place the spiders in the bottom (really the TOP) of the can, face down.


{Step Five}
Glue the other end of the spring to the center of the open lid (the actual bottom of the can).


{Step Six)
Place the spring fully inside of the can, making sure that the cardboard lays right over the spiders.  CAUTION: Be careful not to twist the spring too much or it may not spring out correctly.  Then close the lid and glue all around the edges, sealing it up.

 {It is okay if the bottom looks messy.  No one will see it and it is more important that it stay closed}


That's it!
Now all that is left is to give it to a friend and watch them JUMP as the spiders fly out at them!  I think all the pull-tab crafts are great but this one is really neat for all of you Halloween Scare fans out there... and it goes perfectly for a scary movie invitation!

I apologize for not having a video/pictures of the spiders jumping out.  Our computer has been experiencing some problems and I am unable to open any video editing program and currently, even the video itself!  I promise though, it works and is super fun!

Your Turn!
What is your favorite scary movie?  Or... are you more of a Great Pumpkin Charlie Brown kind of person?  (I like both kinds!)

Happy Crafting,
Kelsie Ann

Link Love!  Linking to the Craftaholics Anonymous Fall Frenzy Link Party! Every Day is an Occasion and D.L. Art

Friday, August 31, 2012

Treat Container From an Old Coffee Can

Woof, woof!  That's hello in "dog"... I think.  How many of you are pet owners or know someone who is?  The likelihood of one of those statements being true is pretty high.  As a matter of fact, statistics from the humanesociety.org say that thirty-nine percent of households own at least one dog and that thirty-three percent own at least one cat.  These statistics are just in the United States alone!

For those of you who own a dog, cat, ferret, gerbil, even a snake or just want to make something cute for a pet-loving friend, this post is for you.


First, want to see my little guy?  He is a 9 month old Rottweiler mix:

{His name is Ernie and don't let that sweet face fool you, he is ornery!}


That's why we have him (and us) enrolled in a dog training class.  Because this small container travels with us to class, I thought it would be nice to dress it up a little.

  {Every animal has some sort of treat or at the very least food!  Why not store it in a totally cute container?}


Check out the top:
 {It is even personalized just for Ernie.  I don't think it will stop the other dogs from trying to steal a treat, but hey I like it!}


Backside:
 {Want to know a little secret?  I only added this part because my paper did not reach all the way around the container.  Shhh don't tell!}


It is easy to make! 
All I used was some paper, ribbon, glue, beads and my Silhouette cutting machine!  How great is that?  I also finished it off by covering it with mod podge to help secure the pieces and to give it a crisper look. 
 

Before Mod Podge                                                                                   After Mod Podge


Your turn!
Have you made any crafts for your pet?  If so, what were they? I would love to hear about them, so comment or link up your projects to this post.

In a few weeks I will be posting homemade dog treats as a gift to all the dogs who went through the class with us, so keep watching the blog for that!

With Love,
Kelsie Ann


Link Love! This project is linked up to: Every Day is an Occasion.com