Happy Monday! How is everyone today? I can feel a productive week coming on, so that always makes me happy. To start off this power-week I wanted to share with you my latest craft. Remember me telling you about us taking our puppy to dog training class? (If not,
here is another dog related post that you might enjoy) Well, on Thursday we had our final class and we got to proudly watch as our sweet puppy walked across the stage to get his diploma. Okay... that's not true, but he did get a diploma!
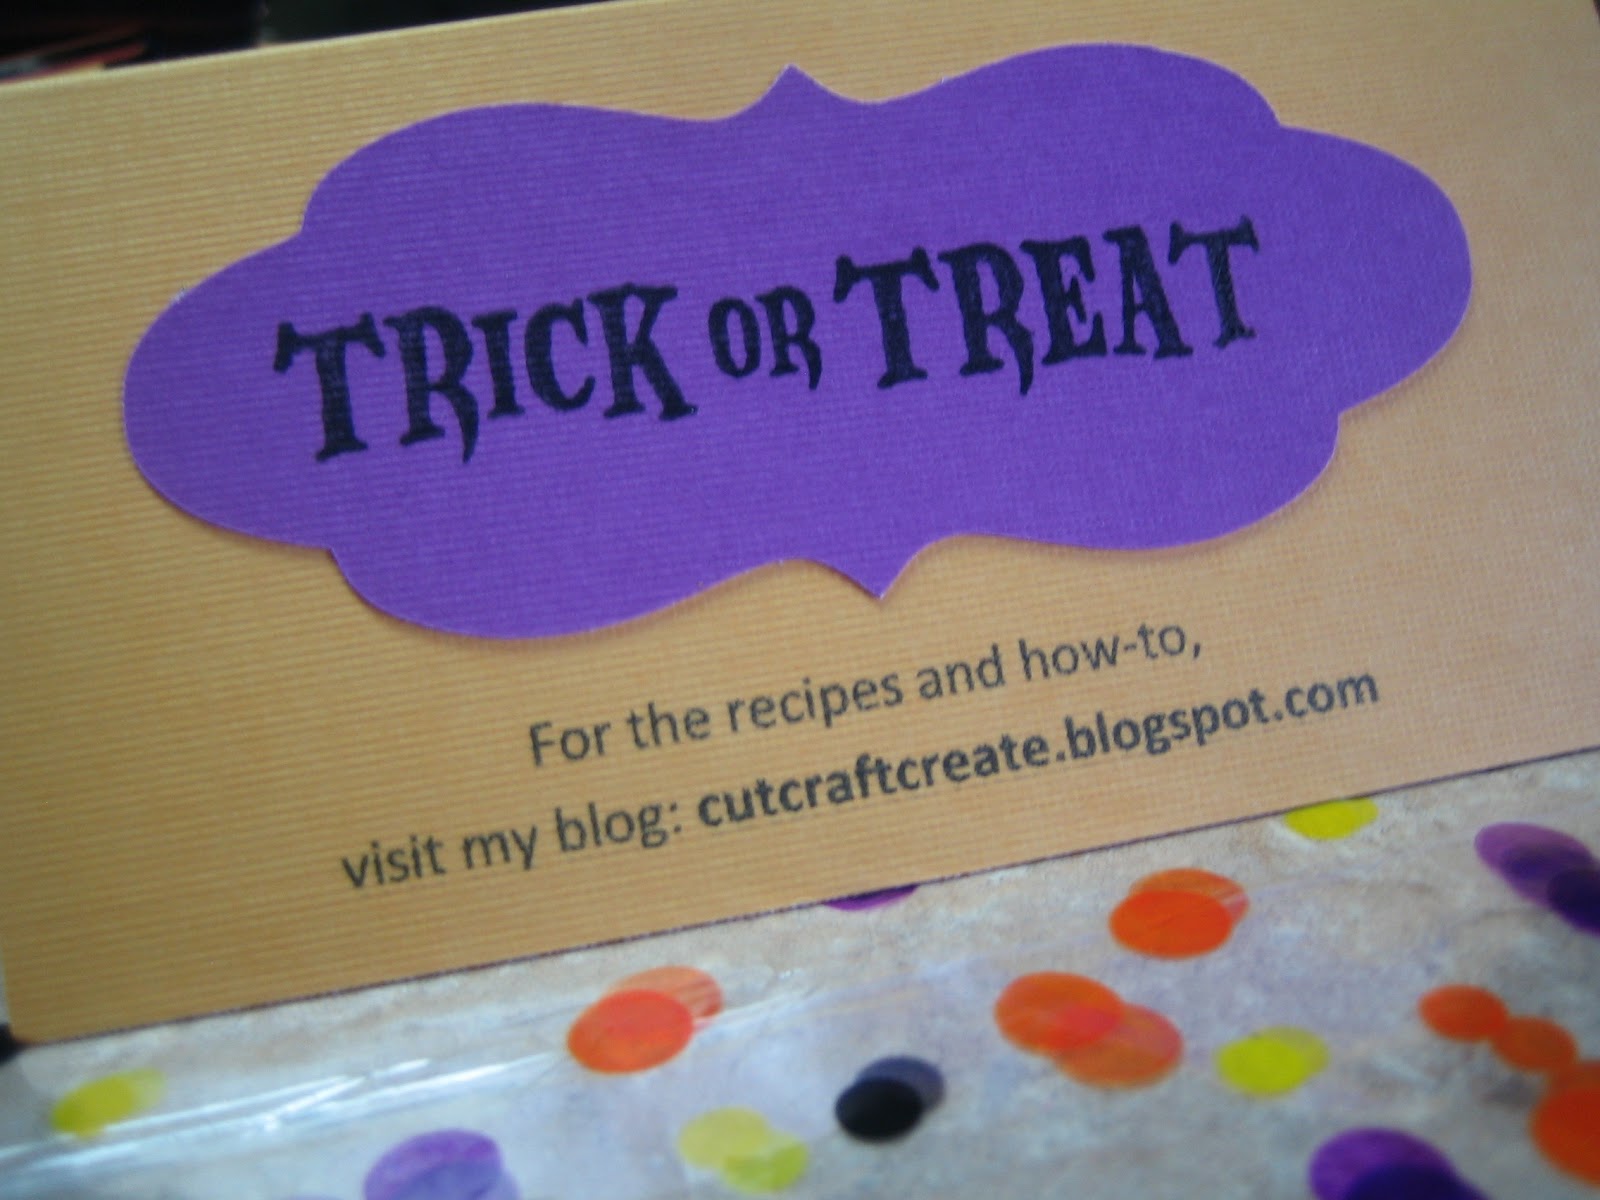
I wanted to give the rest of the dogs in the class a "goodbye and good job" present, so I made homemade doggie treats. This was my first time making animal food, but it turned out pretty well. Then I finished it off with cute packaging.
{I went with a Halloween theme since it's coming up, plus I thought the "trick or treat" sort of went with the idea that the dogs are doing tricks, so they get a treat! Too bad I didn't have a trick FOR treat stamp}
If you are interested in the recipes, check out PART 1 of this post. If you only want to see how to make the packaging, go ahead and skip to PART 2.
(Part 1) Recipes:
I'll start off by giving the recipes for the THREE kinds of treats that I made:
{1} Bacon Biscuits
Ingredients:
1 teaspoon instant beef bouillon
1/2 cup hot water
2 1/4 cup whole-wheat flour
1/2 cup nonfat dry milk
1/3 cup vegetable oil
1 jar (about 3 1/4 ounces) bacon-flavored pieces
1 tablespoon firmly packed brown sugar
1 egg
Preheat oven to 300 degrees. In a medium bowl, dissolve bouillon in water. Add remaining ingredients, stirring until well blended. On a lightly floured surface, use a floured rolling pin to roll out dough to 1/8 inch thickness. Use a 2-inch heart shaped cookie cutter to cut out dough. Transfer to a greased baking sheet. Bake 30 to 35 minutes or until firm. Transfer to a greased wire rack to cool completely. Store in an airtight container. Yields about 6 dozen doggie biscuits.
DISCLAIMER: This is NOT my recipe. It came from a saved photocopy from an old recipe book that my mother had. If anyone knows of the book's title and author, please let me know so that I can give appropriate credit. Wording and Recipe are identical to the original book recipe titled "Yummy Dog Treats".
My experience: First off, I used a larger bone shaped cutter, so my recipe yielded about 2 dozen. I also had trouble rolling the dough with a rolling pin- so I just molded it with my hands. I think this was because I put in too many bacon bits (oops!). Lastly, I would suggest testing the cook time with a biscuit or two beforehand. My oven cooks hot, so I expected it to be less time- but even at 25 minutes, my bones were burnt!
{I tested Ernie to see if he would go for the burnt piece (on our right) or the non-burnt piece (on our left). Turns out he likes burnt food, just like me. Or... he just doesn't care as long as it's food. He went for the burnt first, but within a second took the other one too!}
{2} Peanut Butter Paw Prints
{Please excuse the ugly baking sheet, I baked these treats back to back so there was previous cookie left over!}
My experience: This dough was my favorite to work with and it smelled so good (if you like peanut butter that is!) I used a small round cookie cutter (actually I used a piece from my blender that was the size I wanted) and then made the paw prints using my thumb and pinky fingers. The only problem was that this dough expands more than the bacon one- so my paw prints came out less defined than they were in the dough. (Dough is pictured above). One last note- I tasted these treats and as a human I should say, they weren't bad! I felt so wrong doing it, but it's all "people ingredients" so I had to!
{3} Blueberry Banana Bites
{Don't you just LOVE the colors in this one? Natural coloring is amazing}
This recipe can be found at
thehydrantblog.com ...isn't that a darling name for a dog blog?
My experience: This one can only be made into spoon dropped bites, so if you're looking for a treat you can shape- this isn't it. That being said, they cook up very well and are soft yet stay together. I love that the fruit gets used here and my dog loved it too!
After a long day of baking...
{Let's just say there was plenty left over for my dog Ernie to have}
********************************************************************************************
(Part 2) Packaging:
Let's be honest here: I had the packaging planned out before I had the treats figured out. That is the crafter in me. Here is the best part- it's easy to do!
Let's Begin:
From a package of party treat bags, I cut off the end so that I would
have two pieces to work with. To close up the open edge on the long
piece, I used hot glue. This way the bags could be stacked on top of
each other for that layered effect.
Next, I printed off the list of ingredients and information linking to this post onto a sheet of colored cardstock paper. I made all of this in Word; it will just take some adjusting to get it how you would like it. Then I cut it into rectangles and folded it in half.
For the "Trick or Treat" I cut out the shape using my Silhouette, then I just stamped on the wording. Simple as that! Can you believe it's that easy?
Lastly, I filled the bags with treats and lined them up on top of each other so that they would lay nicely and that the cardstock would reach both bags.
I finished it off by stapling the cardstock in place. For an added touch I used purple staples! Very festive, don't you think?
Each bag had 1 Bacon Biscuit, 2 Peanut Butter Paw prints and 3 Blueberry Banana Bites. It was a good thing I made extra because my dog was more than happy to taste test a few for me!
This project was something entirely new for me and it was fun to try. The packaging was simple and easy and could be used for birthday parties, teacher's gifts or to put candy in for real trick or treaters!
Your Turn!
Congratulations, you made it to the end of this very long post! I wanted to include the recipes on here so that the people in my dog class could make more for their pets if they wanted. How would you use these treat bags? Is anyone going to try making the dog treats themselves?
With Love,
Kelsie Ann