Showing posts with label Iron-On. Show all posts

Saturday, June 28, 2014

My First Ever Quilting Experience

Okay, so here's the deal:  I don't quilt.  I sew.  I sew outfits, I sew decorative items, I sew burp cloths and other baby items, but... I do not quilt.  When I found out my cousin (who is practically a sister, let's admit) was going to have a baby, I knew I had to learn how to- you guessed it- quilt.


I had hoped that this baby quilt would be the start of my new found love for quilting.  After all, my husband loves those quilted comforters for the bed and I think all the ones in the store are u-g-l-y.  Maybe a new hobby could result in a win-win situation for us.  I will let you in on a secret- it didn't.  This quilt took me around a year to finish, not because it was difficult but because I did not focus on it and just GET IT DONE.  I'm proud to say that it is done now, in the hands of my little "nephew" Ethan and that he will know his aunt Kelsie must really love him because he owns the only quilt she will ever make.

Don't let me deter you from quilting, everyone has their "things".  Did you know I also have some amazing scrapbook pages but crash and fail when I try to make cards?  Funny, isn't it?  Oddly enough, the part I struggled with the most in making this quilt was not the actual top quilting but just sewing the pieces together.  This pattern is perfect for a beginner quilter because it only uses square and rectangle shapes and a very basic quilting design.  I even left off the binding and finished the edges myself.

Aaaanyways, let's get on to the pictures!
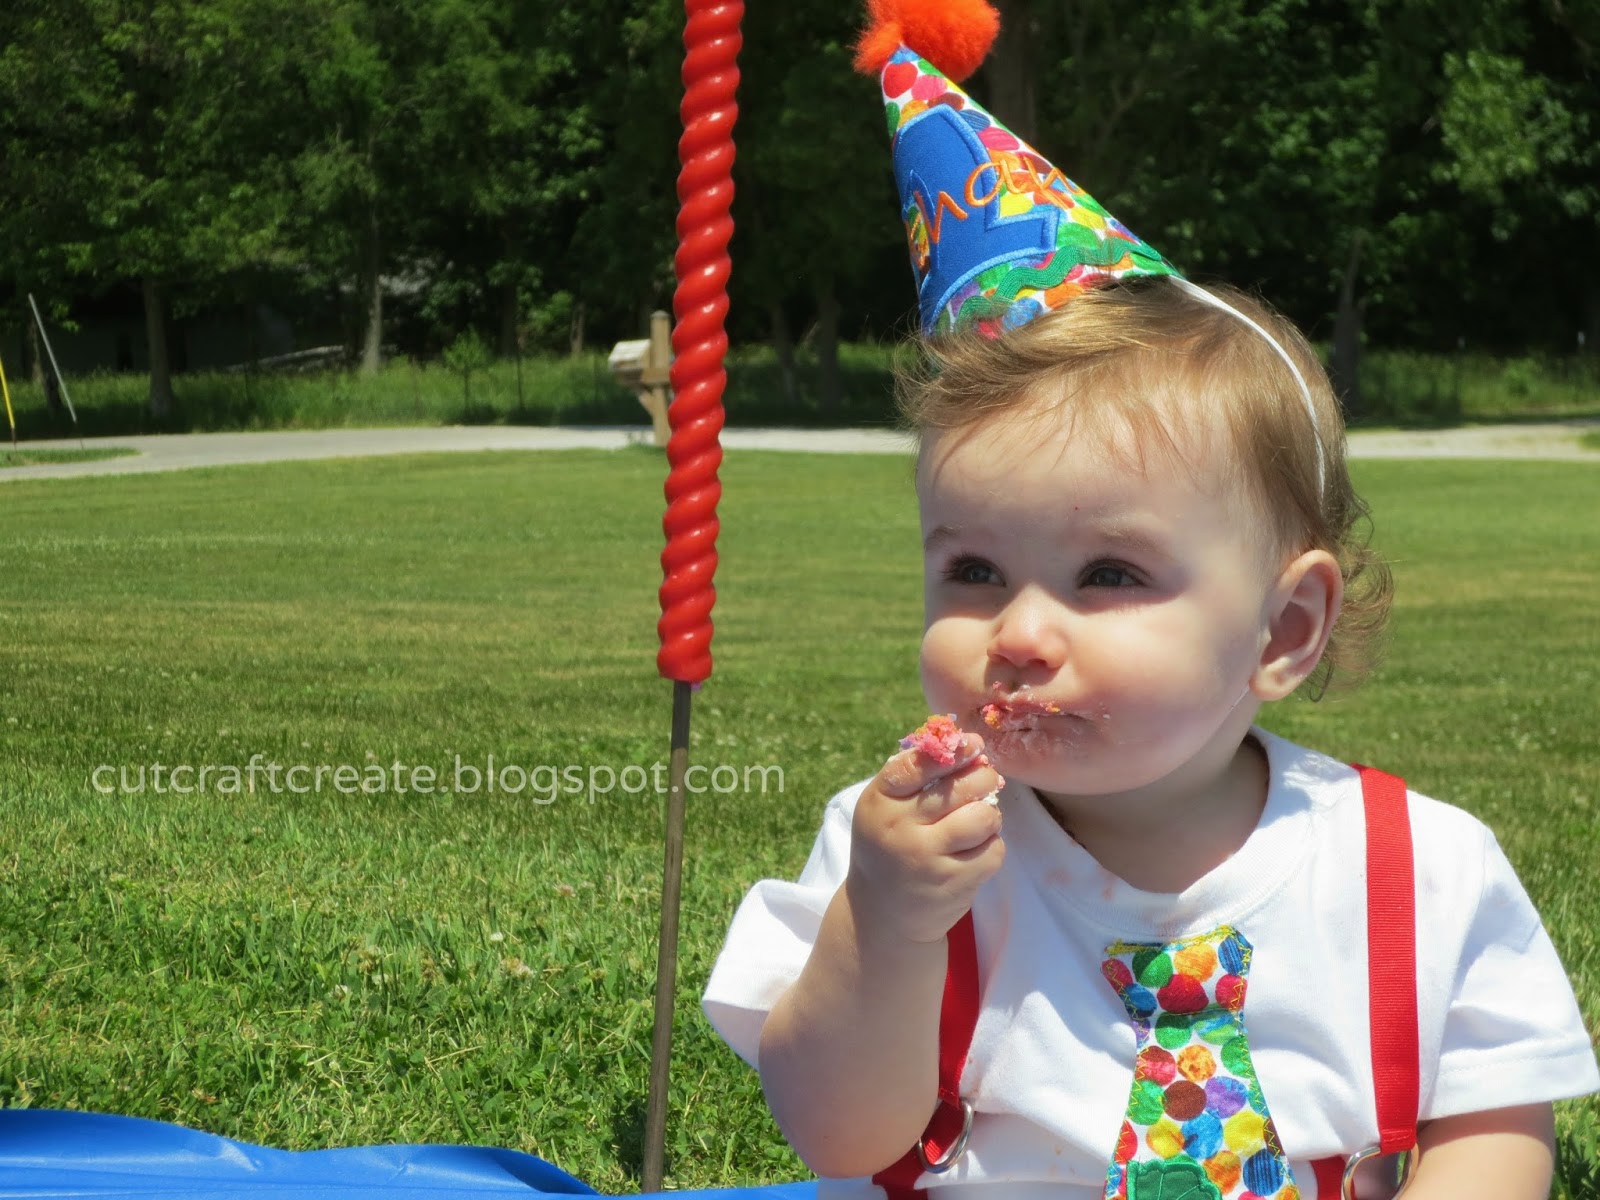

This is my nephew Ethan just a few weeks ago as he celebrated his first birthday.  Handsome little guy, isn't he?

As you can see, the quilt has basic square and rectangle shapes for the piecing.  The whole quilt was somewhere around 36-48 inches (sorry, forgot to measure again before giving it away).


Ethan's nursery is jungle themed so I went with browns, greens and jungle animal print.  The details are what really makes this quilt stand out.


Firstly, I found some blue gingham that matched the gingham on the elephant's ears perfectly!  I was so excited that I was able to work in this added little touch.


Secondly, I added his name to make it personalized.  Don't worry, this is entirely NO SEW.  I cut my shapes out from the same fabric used throughout the quilt.  The fabric was backed with an iron-on stabilizer (like Heat -n- Bond) and was cut using the Silhouette cutting machine.  It cut beautifully and all I had to do was iron each piece on the quilt!  Make sure to use a permanent hold iron-on so that you don't have to sew around each letter.

Instead of messing with quilt binding I simply ran a top stitch along the entire quilt edge.  It gives it that finished look and takes half the time!


For the "quilting" on top, I picked simple shapes again- going with squares and rectangles.  To do this use disappearing ink markers or make your own "pattern pieces" that you can stitch around.  I cut squares and rectangles out of tissue paper, pinned them on the quilt and sewed along the edges of the tissue paper before removing.


I also thought basic shapes might be fun for Ethan to recognize as he gets older.  The entire backing is made with a fabric used in the front that ties in every color.  Plus, more basic shapes to recognize... the fabric is covered in circles!


Randomly place shapes across the quilt space to help tack it down.  I machine stitched my quilting (because it already took me far too long!) but did so with a regular sewing machine.  No expensive quilting machine required.

{That's it!}
So folks, that's it- my first quilt.  It's not perfect and I didn't find a new "passion" in quilting but I love to think of my little nephew using something that was made just for him.  I also hope that this basic pattern inspires some of you to try quilting for the first time.  Maybe you will find a new passion for it- I sure hope so!

Here's a picture of Ethan's mom {Amanda}, Ethan and myself when he was around 6 months old.  Love that naked baby belly!

Happy Crafting,
Kelsie Ann

Monday, February 4, 2013

To Our Sweet Little Valentine

Crafting is always fun but crafting for a little one is a mix of adorable patterns, cutesy sayings and sweetness galore!  If you haven't noticed, I am a fan of making things for babies.  I LOVE making burp cloths and iron-on onesies.  If you are wanting a personalized or hand made gift for a loved one, these are two super easy ways to go.  Check out a few of my creations here and here.

Last year around this time, our sweet little nephew was born.  Now he is a year old and we just love him to pieces.  I thought that while I was shipping his birthday present, I might as well include a valentine to the little boy that stole our heart.  Here is what I came up with:

{Loving those decorated clothes pins?  Check out more ideas and how to make them here}

Kellan (our little nephew) has monkey stuff everywhere.  From the nursery to towels... it is a good theme for a baby.  It also makes for an adorable valentine's shirt!

{It is SUPER DUPER easy to make!}
Really.  All you need to do is choose an image on the Silhouette, cut it out with heat transfer vinyl and attach it to the shirt (just remember that your image needs to be reversed when cutting!)  Who knew that a personalized shirt could be so easy to make?  

  {You can find this monkey in the Silhouette Store.  He is in a set of images called "animal set" by Rivka Wilkins .  There are a few "animal sets" (all adorable) so just look for the one with the monkey}

Please Note: I did alter the monkey image by taking out his round belly cutout and replacing it with a heart shape.  I did this to make it look more valentine's themed.  If you want an image exactly like the one you see above, remember that the original needs to be changed.

{Want to see the back?}
 {Maybe it's because I spell my name unusually (Kelsie not Kelsey) and could never find anything at the store with my spelling on it, but I LOVE the idea of having his name across the back.  At least he wont get confused at daycare, right?}


{That's not all}
I couldn't resist but to throw in a little card just to say "Happy Valentine's Day" and that we miss him.  As I've mentioned before, I am not a card maker.  It is not something that comes naturally to me.  However, I am in LOVE with this sweet and simple card:

 {Cheesy Line?  Check.  Baker's Twine?  Check.  Adorable little button?  Check.}


Did you notice that the monkeys matched?  Nice touch, don't you think?


{Your Turn}
What do you think about this easy-to-do Valentine? Have I hooked some of you into never buying another personalized shirt again?  What are some sweet crafts that you have sent to the little valentines in your life?  I would love to hear your responses and more, so please- tell me all about it!
 
{One more thing}
Cut, Craft, Create is going to be participating in another blog hop this weekend (yay!) Myself and nine other really crafty women are ready to hop you from place to place, showing you tons of really cute Valentine's crafts (never before seen). This hop will take place February 9th starting at 9:00am EST. Please note that this will take the place of my Thursday post. Stop by for directions on where to start. Oh, and I'll be giving away prizes this time so you will definitely want to be stopping by.


Happy Crafting,
Kelsie Ann

Monday, April 16, 2012

Baby Gifts for a Baby Boy (or Girl!)


Last weekend I went to a baby shower for an old friend of mine.  She is expecting a boy and this was my first attempt at making BOY stuff!  Given, both of the onesies that I made will work for either sex, but I considered it a personal accomplishment.  Not covering it in pink or putting frills on the butt took all the restraint I had.

I wanted to share my little adventure with you as I made these onesies.  This was the first time I had used the heat transfer vinyl and- let’s just say… learn from my mistakes.

Materials:
-Blank Onesies
-Heat Transfer Vinyl
-Silhouette
-Button

Let’s Begin:
For other projects, I have only needed to cut my design on the Silhouette as it appears.  So I did the same for the vinyl:


 I continued on my way, covering the design with the mesh ironing cloth that I use when I make heat transfer projects.


But wait,   isn’t this supposed to be stuck to the onesie?!


Go ahead, laugh.  I did. 


Apparently for the heat transfer vinyl, you need to reverse the image before cutting it out on the Silhouette!  (Don’t forget to print with the shiny side down since it will be flipped over on your project and so it attaches where it should)


Just in case, when I ironed I used the Teflon sheet that came with the vinyl instead of trying the mesh again (the last thing we need is a forwards “Cute” and a backwards “Cute” on it!  If you do not have this, I do not think it really matters, as long as there is something between the two.

Make sure that you iron the design with the clear cover facing up.
It is okay to move the iron in small circles but mostly just let the heat reach the image.  BUT BE CAREFUL- keeping it on too long will cause the image to melt and bubble around the edges.


After you iron, let the design cool.  Next, peel off the clear covering.  If you are unable to peel it off without the vinyl lifting with it, put it back and iron for a little longer.


 Finishing up…
I finished up the first shirt by adding on the rest of my words, then hand stitching a button to the front.  For the second shirt, I was done after I ironed on the vinyl.


          I LOVE how great these look and I got a few good laughs while trying to figure it out.

I hope you all enjoyed this post and had a few good laughs (after all, if we can't laugh at ourselves, what's the joy in messing up?)

Have YOU had any "oops" moments that made you laugh?  Share them with me, I'd love to hear them!

Sunday, April 1, 2012

Sweet Gifts for a Baby Girl

Hi.  My name is Kelsie and I am addicted to baby stuff!  That's right, whether it is going a little out of my way to walk through the baby section at the store, or stopping at the fabric store just one more time for snuggle flannel, I cannot help myself.  Lucky for me, I know a TON of people who are having babies.  My fiance's best friend and his wife just had a beautiful baby girl and he's going to visit them this week, so I made a few little things to take with him.

I think I own about every pattern of snuggle flannel known to mankind... nevertheless, I stopped by the fabric store to check out their selection (again).  Lucky for me because they had some new prints AND they were on sale!

Anyways, here are some burp cloths I made for them.  I've made about a dozen others for a family member this winter (twin girls- twice the fun!) so I'm starting to get the hang of it.  Trust me, once you've done a few, they go a lot faster.  HINT: It also helps to just cut out one and then use it as a pattern for the others.  Measuring takes up WAY too much time!

Here is the finished product:


I used that heart print for the twins already and the other two were new ones.  When I found the floral design (on the right) in the store, I about squealed out loud!  I had rub-ons at home in that exact same pattern!  I had to buy it.


Of course, I had to make a tag with a matching rub-on (check out the blue butterfly).  Isn't that awesome?

To finish them up, I rolled them up like snuggly little eggrolls! 


This was the first time I used the creme color terry cloth and I just love it!  So dainty looking, perfect for this perfect little girl.

*******************************************************************************

Thought I was done, didn't you?  I couldn't stop with the burp cloths and had to make one last thing for baby Addie (I promise, only 2 pictures this time).

When I asked the father what the "theme" was for the baby room, they said that there wasn't one, but that the mother likes pigs (at least, I THINK I remember him saying this... if not, oops!) so I wanted to make a pig onesie:


I found an image of a pig online and copied it to my Silhouette, which I also used to cut out the letters for her name.  I used cotton fabric and heat n bond to attach it.  Quick and easy but oh-so-cute! 

Here's a close up:
 
I love the way both projects turned out and I hope that they like them as much as I do.

In two weeks I've got a baby shower for a boy (new territory for me)... what should I make?


Monday, February 20, 2012

Tote-ally Cute Bird on Branch

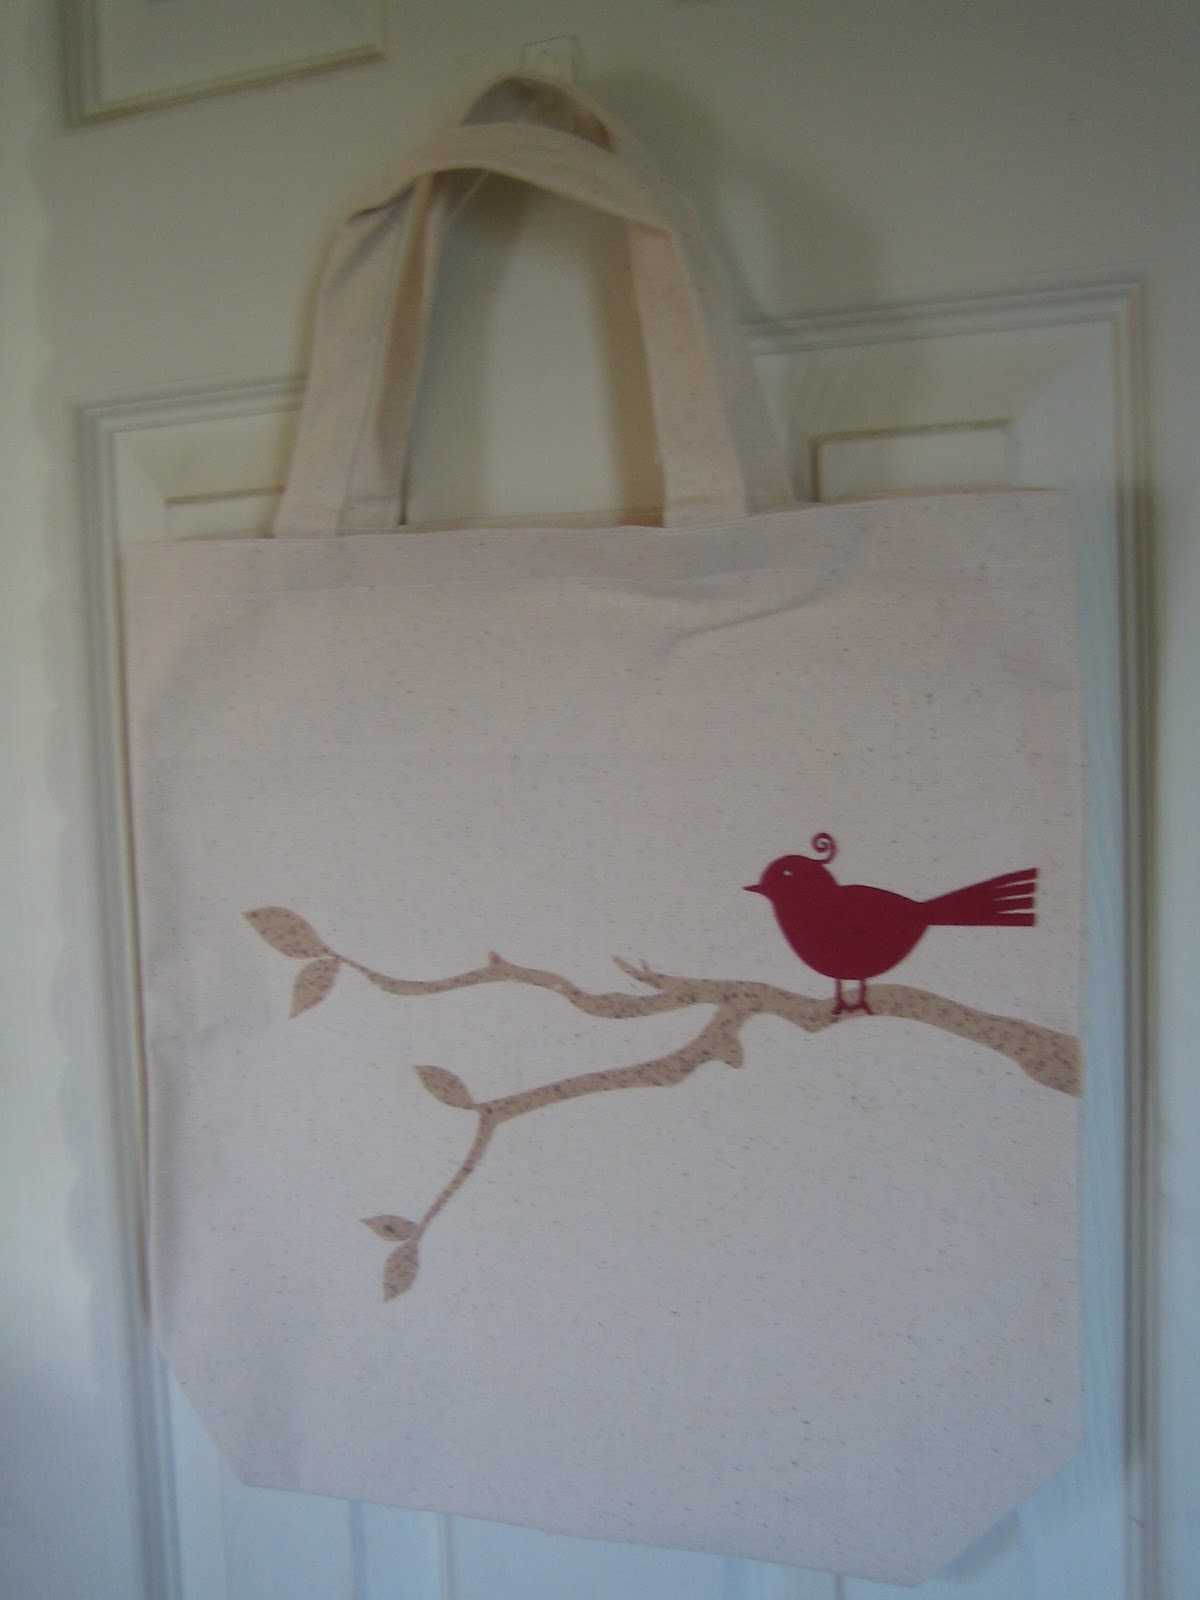
Welcome crafters!  I am excited to debut my FIRST EVER blog post for you today.  As I pondered what craft would amaze enough to stand as the FIRST post I could hear the gears turn in my head.  Sticky vinyl?  Iron-on vinyl?  Magnet sheets?  Paper?  I decided on my oldest and dearest material: fabric.  My mama loves the new bird trend (who doesn’t?) so I figured I would make a cute tote bag for her.  No worries for those of you who are non-sewers, I’ll show you how to do a fabric iron-on.  Alright, are you ready?  Let’s make a tote-ally cute bird on branch tote bag! (Play on words are fun aren’t they?)

You will need:
-Fabric of your choice
-Heat n Bond (adhesive backing)
-Blank tote-bag

As well as an iron & ironing board, and of course, your SILHOUETTE!


STEP ONE:

Iron the  backing to the fabric by placing the glue side of the Heat n Bond to the wrong side of the fabric (side you do NOT want showing.) If you are only using a partial sheet you may cut it down before ironing to save materials.


STEP TWO:
Plan your design (choose from the Silhouette Store or make your own) and cut it out.
*If you do not own a Silhouette, cutting out a shape will work about the same.


We’re almost finished.  Don’t you love how quickly this goes?  


STEP THREE:

Set the pieces where you would like them positioned on your tote bag, peel off the paper backing and iron for about 10 seconds.  If you feel it needs a few more seconds, go ahead.


 My design was layered so my ironing was done in 2 steps.


Finished Product:


Voila!  Now I’ve got a finished tote bag for my mama that she can use to hold books, a beach towel or all that yarn for her new crocheting addiction!

Hope you enjoyed this post and have gotten excited to make your very own tote-ally cute tote bag!  Happy Crafting!